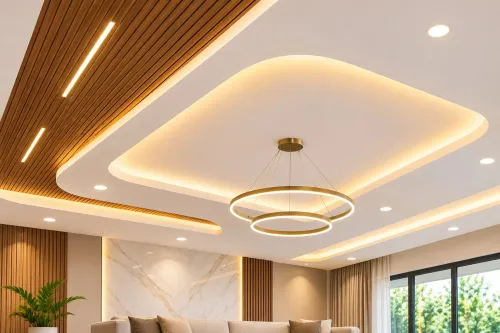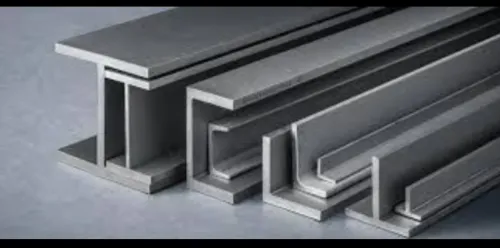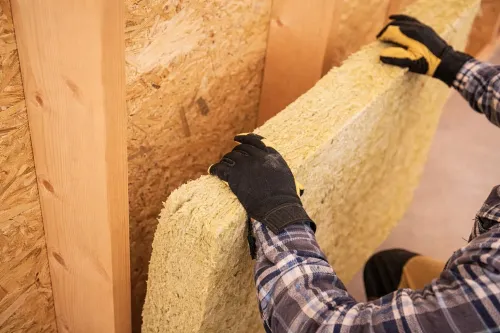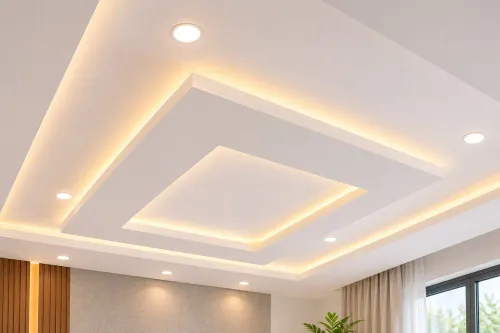
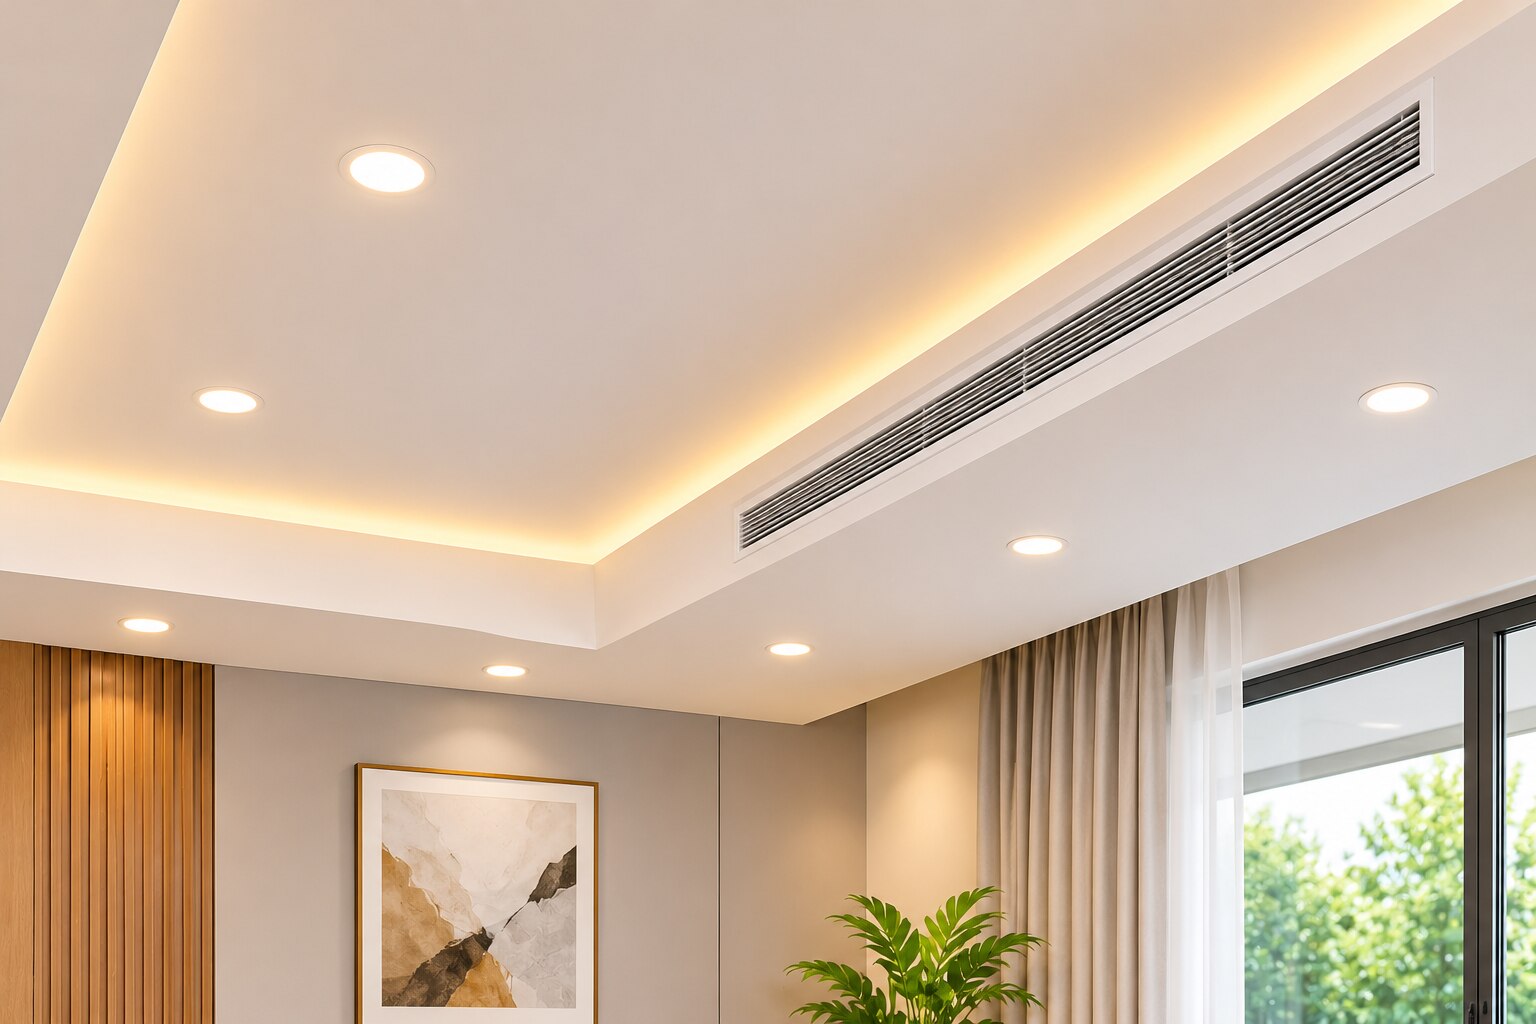
A soffit ceiling can turn exposed beams, ducts, pipes and cable routes into a deliberate architectural line, but only when its depth, support, access and finish are planned together. By the end, you will be able to survey the space, select the right soffit arrangement and coordinate a durable enclosure without concealing maintenance problems.
Key takeaways
- Measure beam depth, slab level and service clearances before fixing the layout.
- Use boxed, stepped or perimeter soffits according to the services being concealed.
- Provide a load path, solid substrate and access panels before closing the face.
- Coordinate fire protection, maintenance access and joint treatment before finishing.
Survey the ceiling before choosing the soffit layout
Measure the structure and services before choosing a soffit layout. Good soffit ceiling planning starts with the actual beam depth, slab underside, finished ceiling level and lowest point available for the enclosure. A drawing based on assumed dimensions can leave no space for insulation, fittings or maintenance.
Record these items on a coordinated reflected ceiling plan:
- Measure each beam depth and width, column position, ceiling height and level changes.
- Trace duct routes and pipe routes, cable trays, conduits and their insulation thicknesses.
- Mark sprinkler heads, detectors, lights, grilles, speakers and other fixtures needing clearances or independent support.
- Locate valves, dampers, clean-outs, junction boxes, fire dampers and filters, then reserve access zones below them.
- Identify where pipes and ducts need separate suspension; a gypsum soffit is a non-load-bearing enclosure, not structural support.
Use the survey to connect each condition with a layout decision:
| Survey finding | Layout decision | Consequence if missed |
|---|---|---|
| Low beam across the room | Set the soffit below it or redesign the ceiling level | Reduced headroom and awkward steps |
| Services concentrated in one band | Use a boxed-out bulkhead or service corridor | Oversized enclosure and wasted ceiling height |
| Access points above the proposed face | Align access panels with valves and dampers | Destructive cutting during maintenance |
| Unverified concealed services | Inspect and pressure-test or leak-test before boarding | Leaks and loose connections remain hidden |
Confirm fire-rated boundaries and acoustic requirements before fixing the layout; changing penetrations or access-panel details later can invalidate the tested assembly.
Match the soffit form to the services it must conceal
Choose the soffit form by the service pattern, not by appearance alone. A wide enclosure wastes height and complicates access; a narrow one can leave ducts, valves or cable trays exposed.
| Option | What it means | When it applies |
|---|---|---|
| Continuous soffit | One uninterrupted lowered plane | Use it when services run across most of the ceiling or when a consistent finished level matters throughout the room. |
| Boxed-out bulkhead | A local three-sided or four-sided enclosure | Use it around one beam, duct, pipe bundle or column without lowering the entire ceiling. |
| Perimeter drop | A lowered band along the room edge | Use it to conceal wall-side services, curtain tracks or perimeter ductwork while retaining a higher central ceiling. |
| Service corridor | A long, planned enclosure aligned with grouped services | Use it where parallel ducts, trays and pipes need a predictable route with repeated inspection points. |
| Removable access arrangement | Access panels or demountable sections within the enclosure | Use it above valves, dampers, clean-outs, filters, junction boxes and fire dampers that require regular servicing. |
Plan access openings before boarding. Give each panel solid backing, and select a panel and frame that match the soffit’s fire, smoke and acoustic rating; a standard panel does not inherit the surrounding assembly’s rating.
At the wall junction, use the specified flexible sealant or joint treatment to control air, smoke and sound leakage. Do not rigidly fill a movement joint, because the enclosure can crack or transmit noise when the structure shifts.
Build the enclosure with a reliable load path and substrate
Every fixture attached to a gypsum soffit needs a defined load path to the structure above, not to the board face.
Design the framing, hangers, channels, furring members and backing for the enclosure’s own weight plus access panels, lights and other permitted attachments; support pipes, ducts and cable trays independently unless the structural design expressly allows shared support.
- Anchor suspension members to the slab, beam or structural framing with approved fixings.
- Use gypsum soffit framing sized and spaced for the board, finish and expected deflection.
- Add solid backing behind access-panel frames, fixtures, grilles and edge trims.
- Do not rely on a conventional lay-in ceiling grid to carry a framed gypsum soffit.
ASTM C754 covers installation of steel framing members that receive gypsum board. Follow ASTM C840 for board application, joint treatment and finishing. A suspended grid under ASTM C635 and ASTM C636 is a different system; substituting it for a properly fixed framed enclosure can create movement, sagging and cracked joints.
Select the board for the exposure: standard gypsum board suits ordinary interiors, while moisture-resistant or glass-mat products suit intermittent moisture or high humidity. Moisture-resistant board is not waterproofing.
Keep framing straight and within the specified tolerance; irregular or widely spaced members telegraph ridges and shadow lines. For long runs, coordinate control joints with structural joints, changes in construction and columns. Seal perimeter joints and penetrations where acoustic performance matters, because insulation alone will not stop flanking sound.
Coordinate access, fire safety and building services before closing the face
Plan every opening before the first board is fixed: mark valves, dampers, clean-outs, junction boxes, fire dampers, filters and equipment on the reflected ceiling plan, then align each with a soffit access panel. Give the frame solid backing and enough clearance to remove covers, operate handles and service components without cutting the face.
1. Overlay the architectural, mechanical, electrical and fire-protection drawings. Reserve positions for lights, speakers, detectors, grilles and sprinkler heads, and check sprinkler clearance against the sprinkler layout and manufacturer’s installation limits. Independent support may be needed for fixtures; do not hang heavy equipment from gypsum board.
2. Coordinate every duct, pipe, cable tray and conduit penetration before framing. Seal each opening with the specified firestop, smoke seal or acoustic treatment, and keep the return-air grille clear of framing, insulation and obstructions. A misplaced grille or detector can force patching and compromise airflow or coverage.
3. If the enclosure forms part of a fire-resistance-rated floor-ceiling, shaft or compartment boundary, specify a complete tested or listed fire-rated soffit assembly. The access panel, frame, fasteners, board layers and penetration details must belong to that design; a rated board alone does not make the panel rated.
4. Inspect and pressure-test ducts, and leak-test plumbing where the trade requires it, before closure. Record the result, confirm insulation and fire dampers, then photograph concealed services and label access panels.
A continuous seal at the wall junction limits air, smoke and sound leakage, but use a joint treatment that accommodates expected movement.
Finish the transitions without creating cracks, gaps or false expectations
Keep joints away from corners, openings and changes in plane. Around an opening, avoid short board pieces and four-corner intersections; that geometry concentrates stress and recurring cracks will return even after extra joint compound. Keep framing straight and within the tolerances specified by ASTM C754, then apply and finish the board under ASTM C840.
Treat the face as more than a flat ceiling. Use a paper-faced or reinforced corner bead on outside corners, and form inside corners with the specified tape and compound.
Place a control joint where the run meets a structural joint, column, door opening or construction change; it does not compensate for weak framing or unsupported board. A shadow gap can separate two planes cleanly, but it needs a straight backing edge.
At the wall-to-soffit junction, use a continuous sealant compatible with the substrates and rated requirement for air, smoke, fire or sound. Do not pack the joint rigidly if movement is expected.
In damp areas, confirm the board, edge treatment, fasteners and finish tolerate the actual moisture exposure; ordinary decorative finish will not waterproof a leaking service zone.
Before choosing a soffit panel supplier, ask for:
- Board or panel type, maximum unsupported span, edge profile and fixing pattern.
- Moisture-use limits, substrate preparation and compatible primers, paints or laminates.
- Corner bead, joint compound, sealant and control-joint details for the proposed soffit ceiling finish.
- Fire, smoke and acoustic test documents for the complete assembly, not only the panel.
Keshar Gypsum Pvt Ltd - 08048034025 can be one supplier to ask for these documents alongside physical samples, cut-edge checks and replacement guidance.
Related products
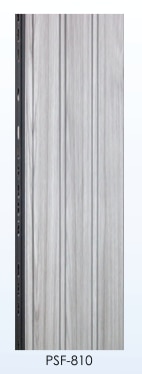 | ₹850 Pollywood PSF-810 features a clean, light-grey wood-grain finish with fine vertical lines and subtle natural texture. View product → |
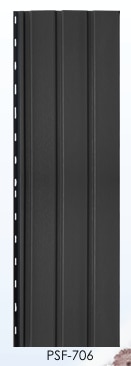 | SOFFIT ₹850 Pollywood PSF-706 features a sleek deep charcoal-black finish with subtle vertical textures and a refined linear profile. View product → |
Frequently asked questions
What should you survey before choosing a soffit ceiling layout?
Measure the beam depth, slab underside, finished ceiling level and the lowest point available for the enclosure. Record service routes, insulation thickness, fitting clearances and maintenance requirements before drawing the soffit.
How do you choose the right soffit form for concealed services?
Use the service route and required clearance to select the form. A boxed soffit suits a concentrated beam or duct, a stepped form handles changes in depth, and a perimeter soffit conceals services around the room edge.
How should a soffit enclosure be supported?
Create a continuous load path from the face board through the framing and hangers to the structural slab or another verified support. Fix the boards to a rigid, level substrate rather than relying on unsupported joints.
What must be coordinated before closing a soffit ceiling?
Confirm access-panel locations, fire-stopping details, sprinkler and detector clearances, electrical and mechanical service routes, insulation placement and maintenance access before installing the face.
How can you prevent cracks and gaps at soffit transitions?
Use compatible framing, reinforce board joints, treat inside and outside corners correctly, and separate dissimilar movements where needed. Do not promise a seamless finish where structural or thermal movement requires a control joint.
Related products
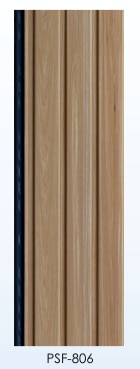 | SOFFIT ₹850 Pollywood PSF-806 features a sophisticated natural wood-grain finish with warm brown tones and subtle vertical detailing. View product → |
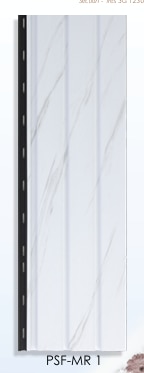 | SOFFIT ₹850 Pollywood PSF-MR 1 features a clean, elegant white marble-inspired finish with delicate flowing grey veins. View product → |
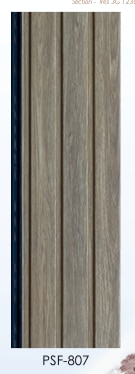 | SOFFIT ₹850 Pollywood PSF-807 features a refined wood-inspired finish in elegant greyish-brown tones, highlighted by natural grain patterns and subtle vertical... View product → |
 | MODULAR CEILING ₹159 Armstrong SCALA features a microperforated surface pattern offering both contemporary design and good acoustical performance • Good light reflectance... View product → |