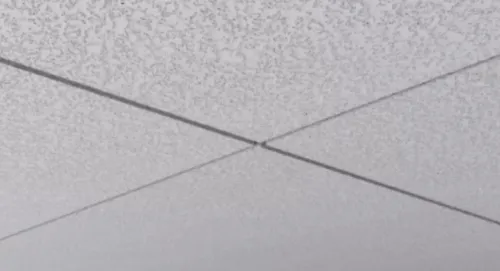
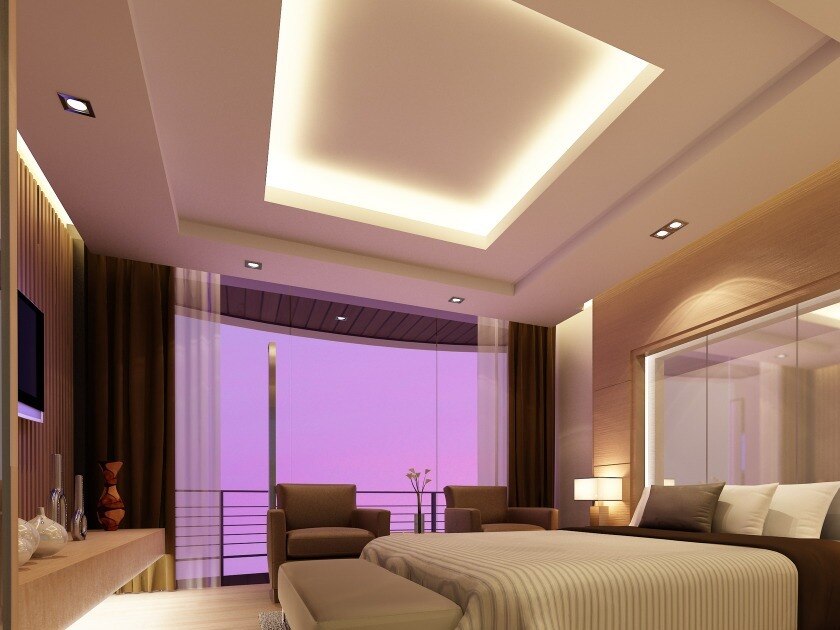
A removable ceiling tile helps only when a technician can lift it, reach the equipment above, and work without damaging the grid or neighbouring panels. You will be able to map service points, size access routes, coordinate the ceiling with building systems, and choose a ceiling type that suits the office’s maintenance pattern.
Key takeaways
- Map every ceiling service before selecting tile size.
- Check that technicians can reach and remove each required tile.
- Coordinate grids, lights, sprinklers, ducts, and partition heads.
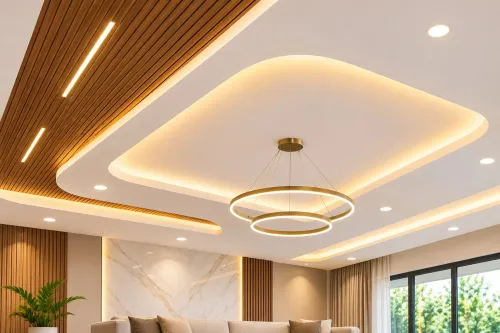
- Choose gypsum, metal, plastered, or modular ceilings by access needs.
Map the services before choosing the ceiling module
A reflected ceiling plan should begin with the services, not a preferred tile size. Draw ducts, cable trays, lighting, sprinkler pipes, fire-alarm devices, valves, junction boxes and partition heads, then mark the tiles that must be lifted for each item.
A removable panel provides maintenance access only if a technician can lift it, move it aside and reach the component. Check the manufacturer’s service-clearance requirement separately: the opening below a valve is useless if a duct blocks the technician’s hands or the serviced part cannot pass through.
Map these access points before procurement:
- Label standard tiles, cut tiles and dedicated access panels on the reflected ceiling plan.
- Keep the lifting direction clear of luminaires, diffusers, ducts, cable trays and partition heads.
- Provide a properly sized hatch where equipment needs hand access, tool space or component removal.
- Check that panel edges have grid support; irregular infill pieces can sag, crack or lose alignment.
| Module | Access implication | Best fit |
|---|---|---|
| 600 x 600 mm ceiling module | Easier for one person to lift around dense services; creates more joints | Offices with frequent access points and crowded ceilings |
| 600 x 1,200 mm module | Reduces joints but needs a longer clear lifting path and more handling space | Open areas with aligned services and unobstructed access |
| Cut panel at a service | Removable only if its edges remain supported and the opening is usable | Small, coordinated penetrations; not a substitute for a service hatch |
A ceiling is genuinely accessible when the route above it works, not when its panels merely come out.
Check the access path, not just the access point
A technician needs the equipment maker’s full service clearance, plus a continuous route from the room to the component; there is no universal ceiling-void dimension.
Measure the height and width needed to lift the tile, open the ceiling access panel, position both hands and tools, remove the part, and withdraw it without striking ducts, trays, pipes, or the grid.
A removable lay-in panel creates an access point, not a usable access path. It cannot help if a valve sits behind a duct or an electrical junction box cannot pass a cable tray.
Check the complete route on the reflected ceiling plan and at the site, including the panel’s lifting direction and the largest item that must pass through it.
Use this checklist for each service hatch:
- Obtain the manufacturer’s service-clearance diagram for fan-coil units, dampers, pumps, and controls; record the required height, side clearance, and withdrawal distance.
- Mark air-conditioning valves, electrical junction boxes, data equipment, fire-alarm devices, and plumbing connections on the ceiling plan.
- Keep the tile-removal zone clear of light fittings, diffusers, sprinkler pipes, cable trays, ductwork, and partition heads.
- Confirm that a technician can stand or use a stable platform below, lift the panel safely, and reach the component without leaning across an opening.
- Specify a dedicated service hatch when the standard module cannot provide the required reach or removal route.
Coordinate the exposed grid with every ceiling service
A 600 × 600 mm module works only when the exposed grid follows the service layout. Shift the tee lines before procurement so standard panels remain available for lifting, rather than forcing narrow cut pieces around equipment.
Mark each service on the reflected ceiling plan and coordinate it with the grid:
- Centre light fittings within panels where possible; suspend each fitting independently or use an approved grid-supported detail.
- Align HVAC diffusers with full panels and leave enough surrounding panel area for removal.
- Place sprinkler heads and smoke detectors away from tees, clips, and panel edges so servicing one device does not trap adjacent tiles.
- Keep cable trays, ducts, valves, and junction boxes out of the lifting path above access panels.
- Detail partition heads so they do not clamp panel edges or interrupt the grid without extra support.
- Identify cut panels and access panels separately; do not treat every cut-out as removable access.
A cut panel needs support on every exposed edge. If a luminaire, duct, or partition leaves a thin infill strip, revise the grid line or shift the service; unsupported pieces crack, sag, or fall during maintenance.
Support light fixtures, cable trays, sprinkler pipe, and air terminals from the structure unless the ceiling manufacturer approves another detail.
Where the ceiling contributes to fire resistance or smoke control, match penetrations, luminaires, diffusers, access doors, and perimeter details to the tested assembly. Do not assume a generic tile and grid retain the rating.
Remove and replace a tile without damaging the system
Use a stable step platform, clean gloves, and both hands; do not lever a ceiling tile with a screwdriver. Keep a clean padded surface ready for the removed panel, and isolate equipment above the opening before maintenance begins.
- Mark the panel and photograph its orientation. This matters for Tegular 24/90 and Tegular 15/90 edges, whose reveal must return to the same grid direction.
- Remove nearby loose objects and hold the panel by its side edges, not its face. Lift it vertically into the ceiling void until its lower edges clear the grid.
- Shift one end above the opening, then lower the opposite end diagonally. Never drag the tile across the suspension tee; dragging chips the Board edge and bends the tee flange.
- Place the panel face-up on the padded surface. Do not stack tools, fittings, or replacement tiles on it.
- Inspect the main tees, cross tees, clips, and perimeter trim before tile replacement. Stop if a tee is twisted, a clip is loose, or the support no longer sits level; forcing the panel hides a grid defect.
- Lift the replacement tile through the opening at an angle, raise it above the grid, and lower it evenly into all four supports. Check that the face sits flat and the reveal is uniform.
Use a matching batch where possible. A different texture, colour, perforation, or edge profile can make a small repair conspicuous, especially with Tegular 24/90 or Tegular 15/90 panels.
Compare modular, gypsum, metal, and plastered ceilings by maintenance need
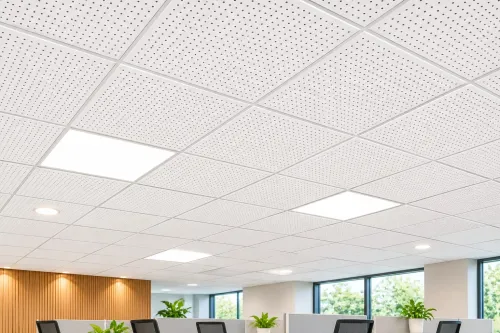
A modular mineral ceiling is the practical choice when technicians will open the ceiling repeatedly for valves, junctions, dampers, detectors, or data equipment. Mineral ceiling tiles provide fast lift-out access and sound absorption; compare NRC for absorption inside the room with CAC for sound blocking between rooms. They are different ratings under ASTM E1264.
| Option | Maintenance need | Specify it when |
|---|---|---|
| Modular mineral ceiling | Lift out individual tiles; keep spare tiles and edge components because later batches can differ in colour, texture, or geometry. | Frequent access matters more than a completely flush appearance, and the exposed grid is acceptable. |
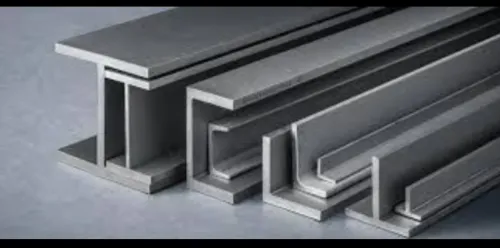
| Metal ceiling | Demountable metal panels resist knocks, moisture, and repeated handling; perforated versions need an acoustic backing. | Corridors, kitchens, humid areas, or spaces needing tougher panels and a durable cleanable surface. |
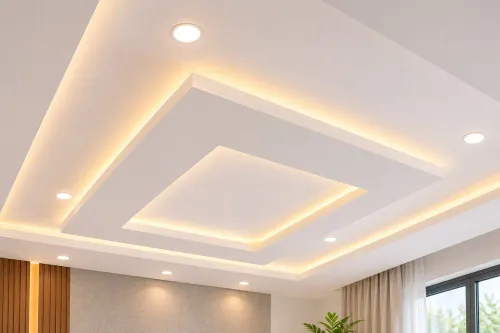
| Gypsum-board ceiling | Each access door needs a supported frame, joint treatment, and a suitable panel; repeated opening increases labour and damage risk. | You need a continuous visual plane, shaped details, or a tested fire-rated assembly, with only occasional access. |
| Continuous plastered surface | Access requires planned hatches or cutting and patching the finish. | Services rarely need attention and the priority is a seamless, solid-looking surface. |
Specify the grid, hangers, perimeter trim, and panels as one compatible system; ASTM C635 covers suspension-system performance and ASTM C636 covers installation. Keshar Gypsum Pvt Ltd - 08048034025 can help document the exact panel range and retain spare stock, but confirm every access door, penetration, and luminaire against the tested fire or smoke assembly.
Related products
 | MODULAR CEILING ₹159 Armstrong SCALA features a microperforated surface pattern offering both contemporary design and good acoustical performance • Good light reflectance... View product → |
 | MODULAR CEILING ₹250 Armstrong ANF 15mm is a 15-mm mineral acoustic ceiling tile available in Board, Tegular 24/90, and Tegular 15/90. View product → |
Frequently asked questions
Why should services be mapped before choosing a ceiling module?
Draw ducts, cable trays, lights, sprinkler pipes, fire-alarm devices, valves, junction boxes, and partition heads first. Then mark the tiles that need lifting for access.
How do you check an access path for a modular false ceiling?
Confirm that technicians can reach the access point, lift the tile, move it through the available space, and reach the service without obstructions.
What must be coordinated with an exposed ceiling grid?
Coordinate the grid with ducts, cable trays, lighting, sprinkler pipes, fire-alarm devices, valves, junction boxes, and partition heads.
How should you remove and replace a modular ceiling tile?
Lift the tile without forcing it against lights, services, or the grid. Protect the tile edges, complete the work, and reseat the tile squarely in the grid.
Which ceiling type suits offices that need maintenance access?
Compare modular, gypsum, metal, and plastered ceilings by how frequently services need access and how much disruption repairs can tolerate.