A ceiling becomes architectural when its planes, proportions, lighting and service openings are designed as one composition rather than added as decoration after the room is complete. By the end, you will be able to match a ceiling concept to each room, protect usable height, coordinate construction services and choose a finish that remains practical to maintain.
Key takeaways
- Match ceiling forms to each room’s furniture, sightlines and service needs.
- Use shallow trays, shadow gaps and perimeter lighting when ceiling height is limited.
- Coordinate framing, electrical, HVAC, sprinklers and access panels before installation.
- Choose gypsum, metal or other materials by shape, moisture exposure and maintenance needs.
Which designer ceiling concept suits each room?
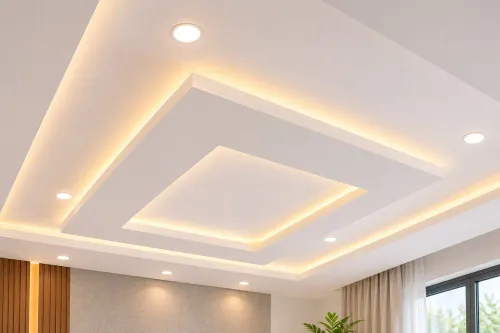
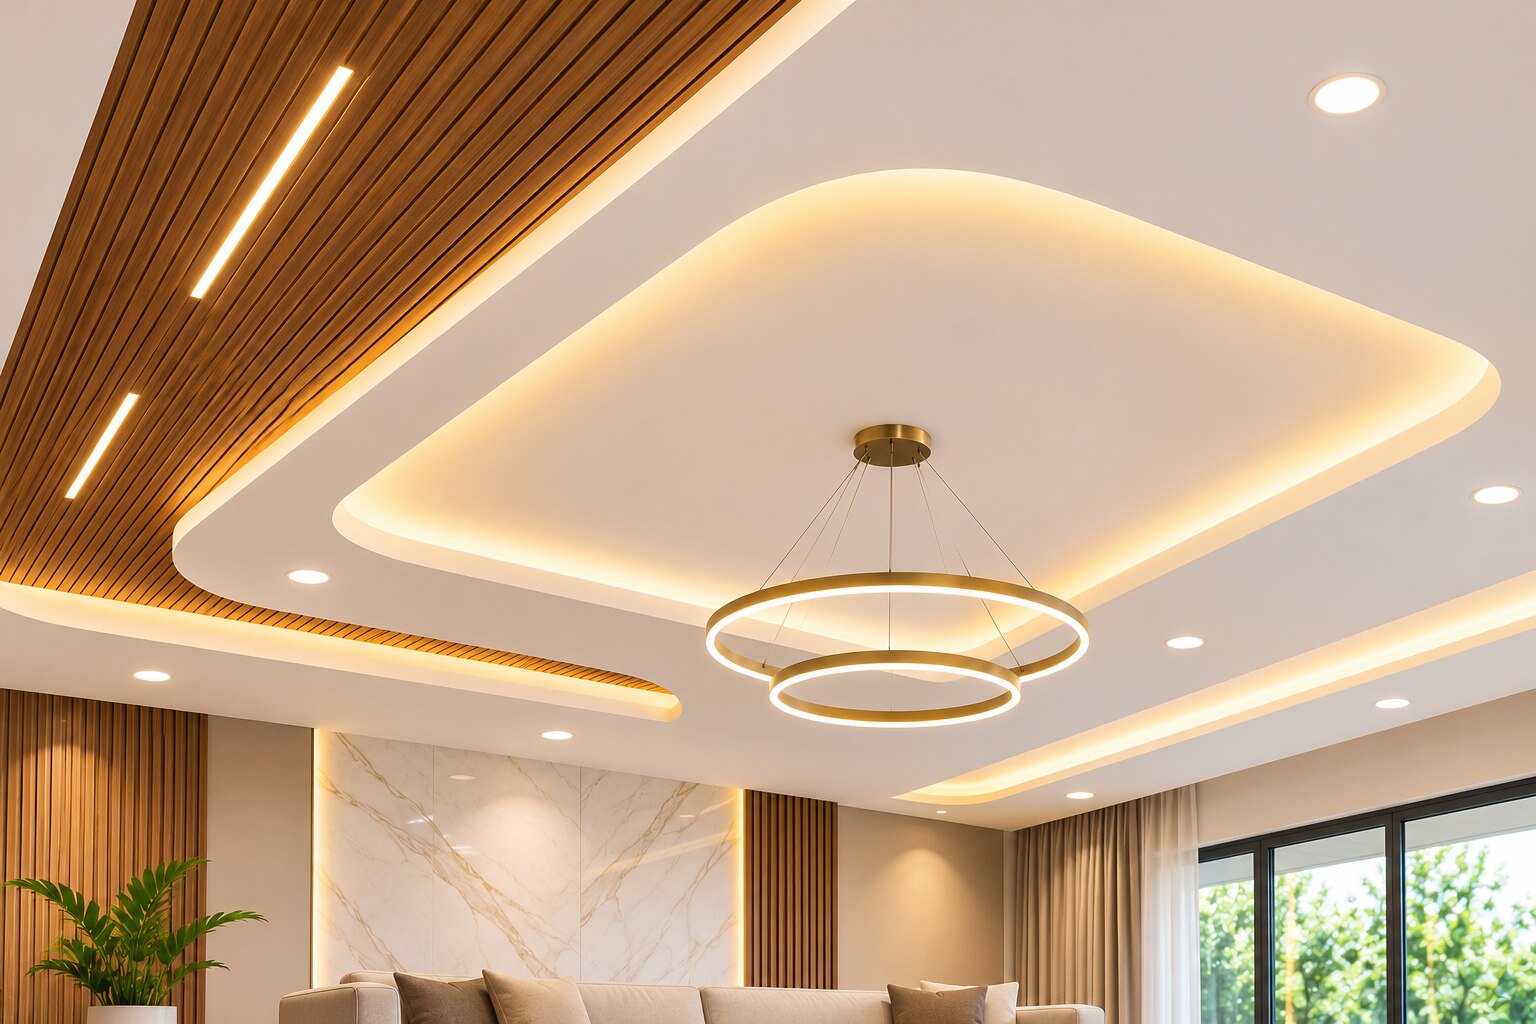
A designer ceiling gives the room architectural structure through stepped planes, recessed trays, floating islands, coffers, curved forms, linear bands, shadow gaps and feature lighting. These designer ceiling ideas should frame furniture, reinforce sightlines and support services, not simply copy a decorative pattern.
Architectural ceiling design works best when its geometry responds to how the room is occupied.
| Room | Strongest concept | Why it fits |
|---|---|---|
| Living room | Restrained perimeter cove or shallow recessed tray ceiling | Frames seating without competing with art, windows or views. |
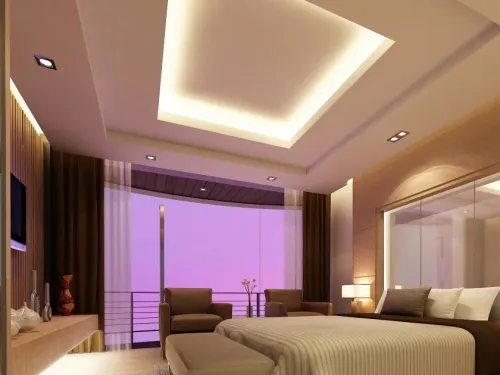
| Bedroom | Quiet recessed panel with indirect light | Creates a calm ceiling plane and avoids glare over the bed. |
| Reception | Island ceiling or linear bands aligned with the reception desk | Directs attention to the desk and gives visitors a clear visual anchor. |
| Conference room | Symmetrical coffered ceiling or acoustic ceiling | Centres the table, supports even lighting and controls speech reflection. |
| Retail | Durable modular or linear systems | Handles frequent access, changing displays and replacement of damaged modules. |
| Restaurant | Washable, serviceable forms with focused feature lighting | Highlights tables and finishes while allowing cleaning and fixture maintenance. |
| Corridor | Continuous linear bands or repeated light slots | Guides movement and creates rhythm along a long sightline. |
A stepped ceiling or curved ceiling suits a strong focal zone, but complex drops increase framing, cleaning and repair demands. A floating island also exposes its perimeter, so use a rigid repeatable edge and controlled shadow gap; never use the gap to hide wiring or unsupported lights.
Choose the form after checking furniture positions, sightlines, acoustic needs and maintenance access. A visually striking ceiling that blocks a diffuser, creates glare or cannot be opened for repairs is the wrong design.
How do you choose a ceiling form when height is limited?
Resolve the ceiling height decision before selecting a finish. Measure the finished floor-to-ceiling height and reserve the service void needed for structure, lighting and building services.
| Option | Height impact | Best use | Main constraint |
|---|---|---|---|
| Full false ceiling | Requires the greatest continuous service void | Rooms with substantial air-conditioning ducts, multiple conduits or an uneven slab to conceal | Reduces clear ceiling height across the room |
| Partial feature ceiling | Lowers only a defined zone | Framing a table, bed or seating area while preserving surrounding height | Needs careful alignment with furniture and sightlines |
| Floating ceiling island | Limits the lowered area | Creating a focal point above a table, bed or reception desk | Requires a rigid, carefully supported edge; suspension and shadow lines remain visible |
| Perimeter cove lighting ceiling | Least intrusive; keeps the centre high | Indirect light without lowering the main ceiling plane | Cove depth must hide the source while keeping drivers accessible |
Base the decision on the lowest obstruction, not the slab alone. Check air-conditioning ducts, recessed lights, sprinklers, smoke detectors, speakers, access panels and electrical conduits because each competes for depth.
Show finished floor-to-ceiling heights and service zones on the drawing. Do not place a low feature over door heads or inside a narrow circulation route, where it can make the passage feel compressed and interfere with clear movement.
A floating ceiling island also needs a repeatable edge profile and controlled gap; never use its shadow line to hide unfinished wiring or unsupported fittings.
What must be coordinated before the ceiling framing begins?
Begin with a reflected ceiling plan that fixes ceiling levels, module sizes, coffers, reveals, light fittings, diffusers, sprinklers, detectors, speakers and access panels. This drawing is the basis for ceiling coordination; without it, fittings can interrupt joints, shadow gaps or fire-rated assemblies.
Overlay structural beams, columns, partition lines, door heads, glazing mullions, exhaust routes, electrical conduits and fire-service piping. Set out geometric coffers from the room’s strongest visual axes, not by dividing the plan into equal squares. That avoids narrow edge slivers and clashes at doors or glazing.
Mark suspension points and separate the primary suspension grid from secondary framing for gypsum forms. Support heavy islands, curved elements and decorative mouldings from the building structure or a designed subframe, never from gypsum board alone.
Acclimatize gypsum board to site conditions before installation, plan movement joints across large planes, and make every service opening compatible with the ceiling assembly.
Use this gypsum board installation sequence:
- Complete setting out, including levels, axes, joints, openings and access panels.
- Install and inspect the suspension grid.
- Fix secondary framing for coffers, drops, curves and reveals.
- Install board or tiles, keeping joints and penetrations aligned.
- Apply joint treatment and complete approved edge details.
- Cut and fit lighting, grilles and other service openings.
- Inspect alignment, support, access and assembly continuity.
- Complete fire stopping at penetrations and perimeter interfaces.
- Apply final finishing only after inspections are accepted.
Which ceiling material gives the right visual and technical result?
Choose the complete ceiling system—face finish, framing, cavity, backing, penetrations, access panels and fire performance—not the visible surface alone.
| Option | Visual result | Technical trade-off |
|---|---|---|
| Concealed gypsum ceiling | Continuous planes, curved forms, coffers and shadow gaps | Repairs need cutting and patching; use properly rated panels for maintenance access |
| Exposed demountable grid ceiling | Fast access and simple reconfiguration | Grid lines alter the visual language; the acoustic result depends on the tile and backing |
| Mineral-fibre ceiling tiles | Soft, modular appearance for an acoustic ceiling | Absorption depends on tile grade, cavity and backing |
| Metal lay-in, clip-in or linear systems | Clean repetition and durable access | Perforated panels need acoustic fleece, mineral wool or another absorption strategy |
| PVC WPC ceiling panels | Decorative option for selected moisture-prone areas | Verify fire classification, support spacing and manufacturer approval for commercial use |
Metal systems suit offices that change frequently, while concealed gypsum suits a continuous architectural composition. A closed metal surface across a large room can reflect sound, so do not assume metal provides acoustic control.
A wood-look ceiling adds warmth but needs careful cleaning, moisture control and a suitable fire-tested substrate. Gypsum board is adaptable, not waterproof: wet areas need extraction, sealed penetrations and a board system matched to exposure. Moisture resistance alone does not make a ceiling waterproof.
For Pune-area commercial comparisons, Keshar Gypsum Pvt Ltd - 08048034025 can assess gypsum boards, ceiling systems, insulation and Plaster of Paris components against the project brief rather than appearance alone.
Related product
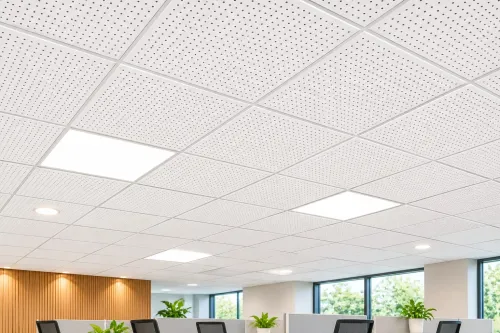
 | MODULAR CEILING ₹159 Armstrong SCALA features a microperforated surface pattern offering both contemporary design and good acoustical performance • Good light reflectance... View product → |
How do you make the finished ceiling distinctive without creating failures?
Distinctiveness survives only when ceiling detailing is treated as architecture and a performance specification. Use this procedure before closing the boards:
1. Set out the shadow gap ceiling detail with a controlled profile, correct framing, joint treatment and fire stopping. An oversized unsupported reveal will crack or deflect, turning a crisp line into a visible defect.
2. Coordinate lights, grilles, sprinklers, detectors, speakers and access panels with board joints and acoustic modules before framing. A fitting that cuts through a joint can weaken the finish; an access panel must match the surrounding ceiling’s acoustic and fire performance.
3. Size the cove for the light source, not just the visual sketch. A shallow cove causes cove lighting LED hot spots and visible dots; provide enough depth to conceal the source, then keep drivers accessible and LED strips serviceable.
4. Build a perforated gypsum acoustic ceiling with its specified acoustic fleece or backing, cavity and mineral-wool infill. Paint that blocks the holes reduces absorption, so verify the complete build-up rather than the board label.
5. Specify a fire-rated ceiling assembly, not merely fire-resistant board. Confirm the tested combination of board layers, fasteners, framing, joints, penetrations and access panels. Acoustic insulation improves the ceiling’s sound performance, but it will not stop flanking transmission without sealed perimeters and penetrations.
6. Complete a ceiling inspection before handover. Check alignment, shadow lines, deflection, access, paint coverage and every cut-out.
Frequently asked questions
Which designer ceiling concept suits each room?
Use trays and floating islands for living rooms, coffers or linear bands for formal spaces, and practical recessed layouts where services and maintenance dominate.
How do you choose a ceiling form when height is limited?
Measure the slab-to-finished-floor height, reserve space for services, then choose shallow profiles, perimeter shadow gaps or carefully placed recessed features.
What must be coordinated before the ceiling framing begins?
Confirm lighting positions, HVAC diffusers, sprinkler heads, electrical routes, access panels, curtain tracks and the framing layout before closing the ceiling.
Which ceiling material gives the right visual and technical result?
Compare gypsum board, metal, mineral-fibre and other systems by the required shape, moisture exposure, acoustic needs, fire performance and maintenance access.
How do you make the finished ceiling distinctive without creating failures?
Control feature depth, reinforce framing, use compatible joint treatment, provide service access and test lighting before final finishing.