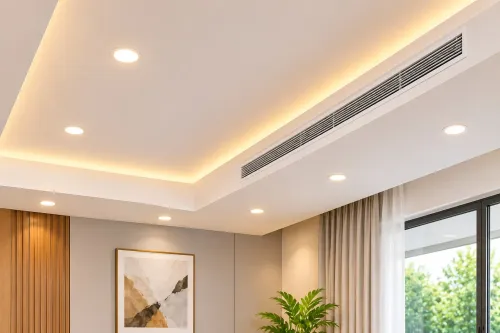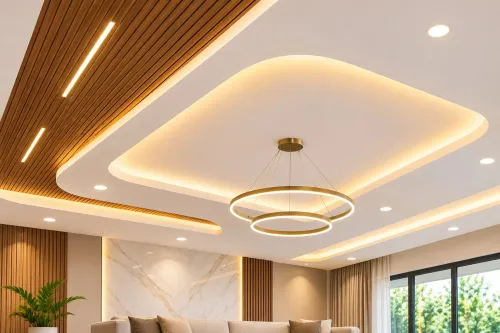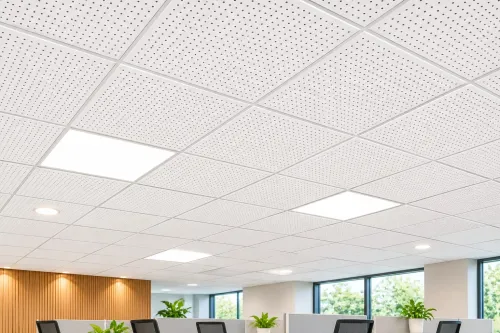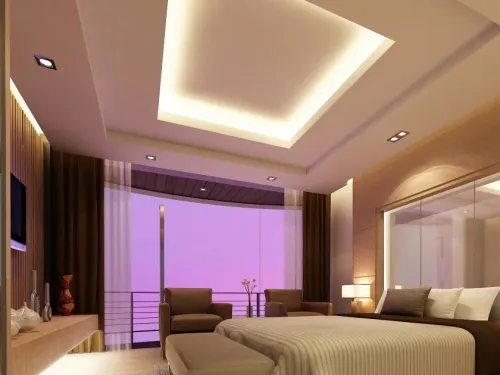
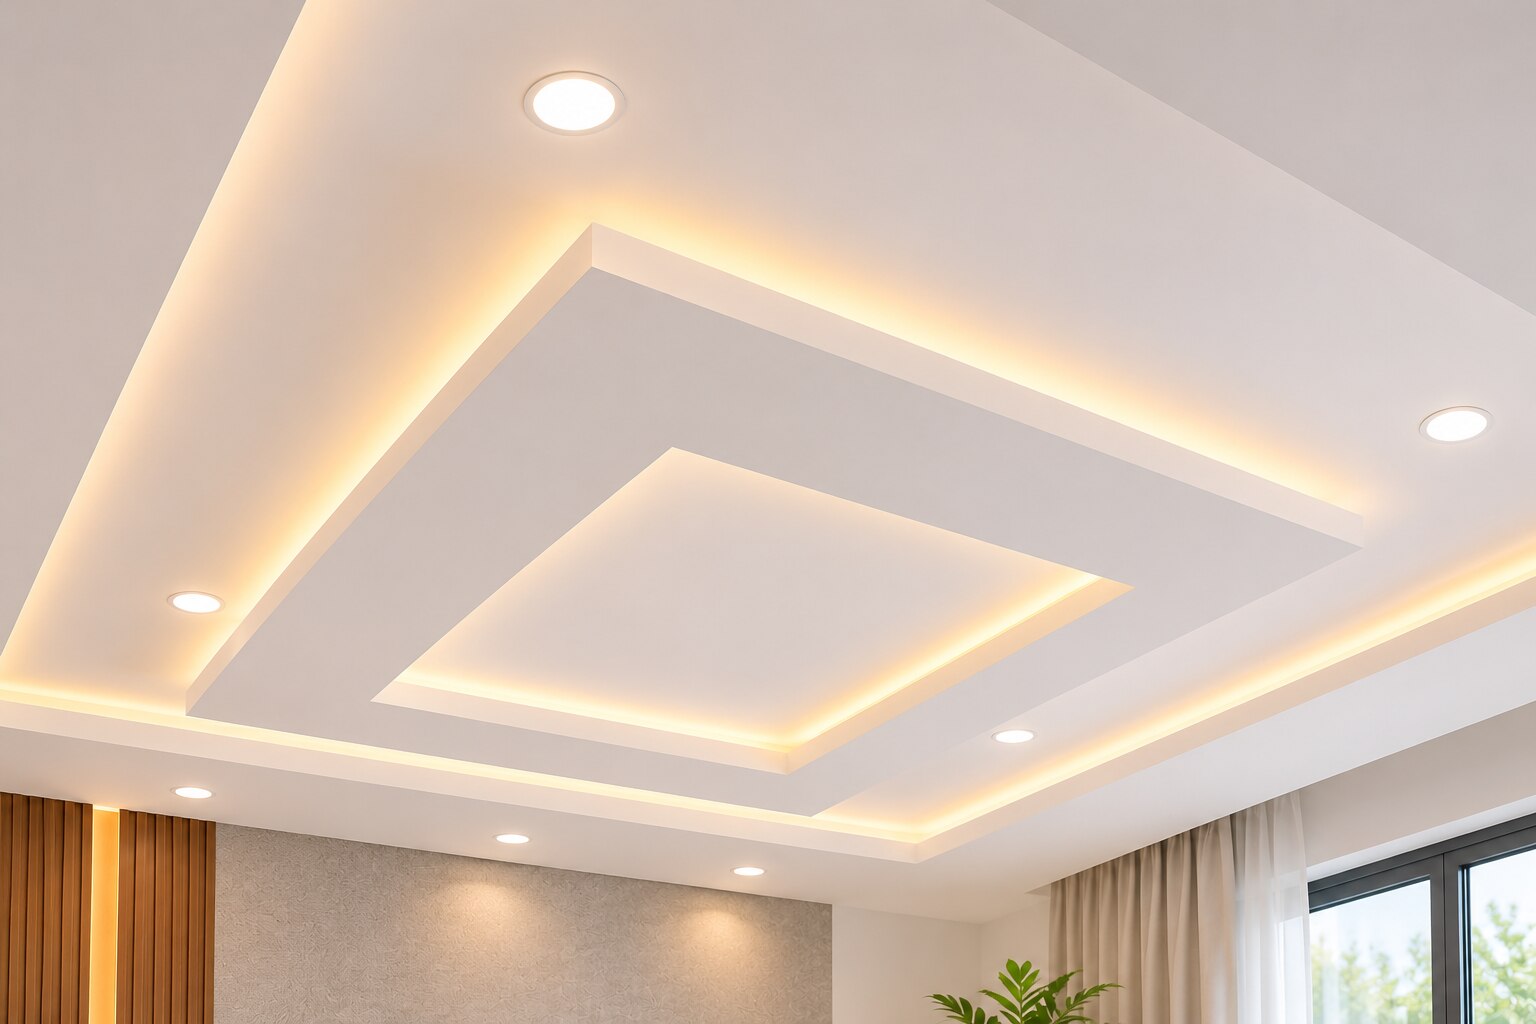
A seamless gypsum ceiling depends on more than covering the slab with boards: the suspension frame, service openings, joints, corners, perimeter details and paint finish all affect what you see under strong light. By the end, you will know which ceiling system to choose, how to specify its build-up, and how to control the defects that make joints, screw heads and repairs visible.
Key takeaways
- Check ceiling height, services and moisture before selecting the board system.
- Keep the metal framework level and coordinate openings before closing the ceiling.
- Tape and compound joints, fastener heads, corners and perimeter gaps as one system.
- Specify board type, framing, access panels and finish level in the assembly schedule.
Choose the Ceiling System and Check the Space Before Framing
A suspended gypsum-board ceiling creates a continuous surface: boards are fixed to a metal framework, joints and fastener heads are treated, and the finished plane is painted. It is the right choice for a seamless ceiling, but “seamless” means concealed joints, not joint-free sheets.
| System | Surface result | Best use |
|---|---|---|
| Suspended gypsum-board ceiling | Continuous painted plane after joint treatment | Rooms requiring a seamless ceiling and concealed services |
| Lay-in gypsum ceiling tiles | Visible modular grid and removable panels | Areas needing frequent access above the ceiling |
Before framing, verify the space against the ceiling design:
- Complete a ceiling height check from the finished floor to the slab, beams, ducts, pipes and planned light fittings. Reserve the full service zone; compressing it later can force low bulkheads or clashes.
- Inspect the slab and supporting structure for cracks, weak concrete, water leakage and suitable fixing points. Do not suspend the framework from unsupported finishes or services.
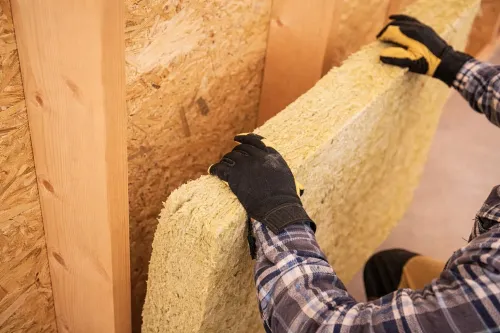
- Confirm the tested fire and acoustic assembly, including board type, thickness, suspension system, fasteners, insulation and penetrations. A different board or untested recessed fitting can invalidate its performance.
- Mark downlights, grilles, sprinklers, detectors, speakers and access panels before closing the ceiling. Raking light from windows or linear luminaires also deserves review before decoration.
- Match the board to exposure. Moisture-resistant gypsum suits designated humid areas, but persistent wet conditions require a waterproof or cement-based construction.
Build a Level Suspension Framework Around the Services
Set the finished ceiling level with a laser after measuring the slab, beams and lowest service. Leave enough depth for ducts, conduits, insulation, light fittings and access panels; a shallow void forces pipes and fixtures into the board later, producing weak, oversized cut-outs.
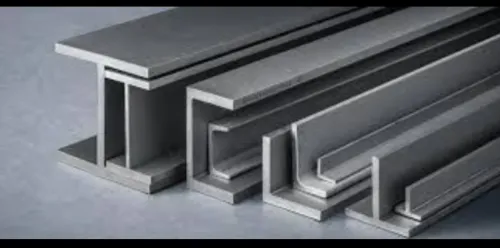
Fix the perimeter channel continuously at the marked level, then suspend the primary channel from the structural slab with approved hangers. Install the secondary channel square to it so every board edge is supported. Do not hang services, heavy fixtures or access panels from the board; provide independent supports or a designed framing support.
For a typical ceiling, start with 12.5 mm gypsum board and framing spacing at 400 or 600 mm centres only when that combination matches the manufacturer’s tested system. Use closer framing where the board specification, tile size, openings or fixture loads require it.
Keep board joints on channels, stagger end joints, and follow the specified screw spacing; wider spacing invites movement, loose edges and joint cracks.
Before closing the framework, mark every planned opening and check these points:
- Reserve framed openings for lights, grilles, detectors, speakers, sprinklers and access panels.
- Add support around large or heavy openings instead of cutting through a channel.
- Coordinate curtain tracks, inspection routes and service valves with the ceiling grid.
- Photograph and dimension concealed services for future drilling.
Check the framework with a straightedge before boarding. A skim coat cannot hide a sagging channel or a broad wave under grazing light.
Treat Joints, Corners and Perimeters as a Complete Finish System
A painted ceiling stays seamless only when every transition is prepared as part of one finishing system. Set screw heads slightly below the board face without breaking the paper; overdriven screws weaken the fixing and leave deep depressions, while proud screws remain visible.
Treat each location with the correct detail:
- Embed paper joint tape in joint compound over tapered board joints. Do not paint over dry tape.
- Use fiberglass mesh tape with setting-type joint compound, not ordinary drying compound alone; stressed mesh joints can crack.
- Reinforce inside corners with folded paper tape and finish both sides evenly.
- Fit a metal or paper-faced corner bead to outside corners, then feather joint compound at least 200 mm onto each face.
- Back-block or support butt joints, then apply several thin coats with a wide feathered edge. A square-cut joint needs more buildup than a factory-tapered edge.
- At wall interfaces, leave the designed perimeter gap and use the specified trim, sealant or movement detail. Do not bury a moving junction under a rigid mound of compound.
Sand between coats without cutting the tape, then inspect under raking light from windows and linear luminaires. Correct ridges, scratches and depressions before decoration. GA-214 Level 4 suits ordinary uniform finishes; specify GA-214 Level 5, including a skim coat across the surface, where gloss paint or severe raking light would expose joint photographing.
Neither level compensates for movement, poor framing or an altered fire-rated assembly.
Coordinate Openings, Movement and Moisture Before Closing the Ceiling
A smooth ceiling depends on planning every penetration before the boards are fixed. Mark lights, grilles, sprinklers, detectors, speakers, curtain tracks and the access panel on a reflected ceiling plan, then place framing, backing and service supports around those positions.
- Frame each large opening with additional channels or noggings so the board edge cannot flex. Give a downlight opening a neat template and trim; support the fitting from the structure or framing, not from the board alone. Frame an air-conditioning diffuser separately and prevent its flange from bearing on a weak cut edge.
- Coordinate sprinkler heads, smoke detectors and speakers with the ceiling grid and keep their required clearances. Do not cut around a fitted device after jointing; an oversized hole becomes a visible repair patch.
- Provide independent support or concealed backing for curtain tracks, heavy grilles and inspection hardware. Set the access panel flush, align its joint with the board layout, and use a proprietary recessed frame where a painted, uninterrupted surface is required.
- Continue a movement joint through the gypsum board where the structure has a movement or control joint, and detail changes between walls, columns and dissimilar materials. Use a flexible sealant joint, trim or shadow gap instead of rigidly bridging expected movement.
- Leave the specified perimeter gap and seal or cover it with the chosen perimeter detail. Complete drying-type compound before sanding and painting; humidity, cold air and thick coats leave soft centres that reopen.
Inspect the ceiling under raking light before decoration. Fix ridges and fastener depressions then, not after the fittings reveal them. Keep moisture sources controlled, because moisture-resistant board improves exposure tolerance but does not make a wet area waterproof.
Control the Final Surface and Specify the Complete Assembly
A smooth painted result depends on the finishing sequence, not just the board. Complete joint treatment, screw-head treatment, sanding, primer and paint in that order; painting over ridges or depressions only makes them harder to correct.
1. Apply joint tape and compound to board joints, corners and perimeter transitions. Feather butt joints wider than tapered-edge joints so the abrupt buildup does not photograph through the paint.
2. Fill every fastener depression, allow the compound to dry, then sand without cutting into the paper face. Use a skim coat over the entire surface where the specification calls for GA-214 Level 5, especially under gloss or semi-gloss paint or strong raking light.
3. Inspect with raking light before final decoration. A window or linear luminaire aimed nearly parallel to the ceiling will reveal ridges, sanding scratches and fastener hollows hidden by diffuse site lighting.
4. Seal the prepared surface with the specified primer, then apply compatible finish coats. Confirm that the board, compound, tape, primer and paint manufacturer permit this combination.
5. Before purchase, obtain the complete tested assembly: board type and thickness, suspension components, screw spacing, insulation, penetrations and fire or acoustic rating. Keshar Gypsum Pvt Ltd - 08048034025 can help match the material schedule instead of supplying boards that are incompatible with the specified system.
Use moisture-resistant gypsum board only within its tested exposure limits; it is not waterproof. For persistent damp, direct water or wet-service zones, specify a cement-based board or cement-based construction with the required waterproofing and joints.
Related product
 | Gypsum Tiles ₹108 White Sand is a Gypsum ceiling tile that has been laminated. Gypsum tiles are laminated with a Metalized Polyester (MPL) film for heat and vapor... View product → |
Frequently asked questions
What should you check before framing a gypsum ceiling?
Check the available ceiling depth, slab condition, moisture exposure, lighting, air-conditioning, sprinklers, cable routes and access requirements before fixing the framework.
How do you create a level gypsum ceiling around building services?
Set out the finished ceiling level, install and level the suspension framework, then coordinate ducts, pipes, lights and access panels so services do not force unplanned changes.
How are gypsum ceiling joints and edges finished?
Treat board joints, screw heads, internal corners and perimeter edges with the specified tape, joint compound, corner treatment and perimeter seal before sanding and painting.
What must be coordinated before closing a gypsum ceiling?
Confirm service routes, openings, access panels, movement joints and moisture protection before installing the final boards, because repairs become harder after closure.