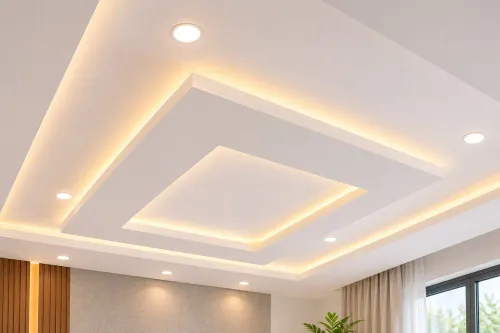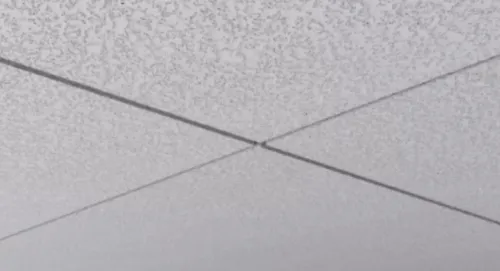
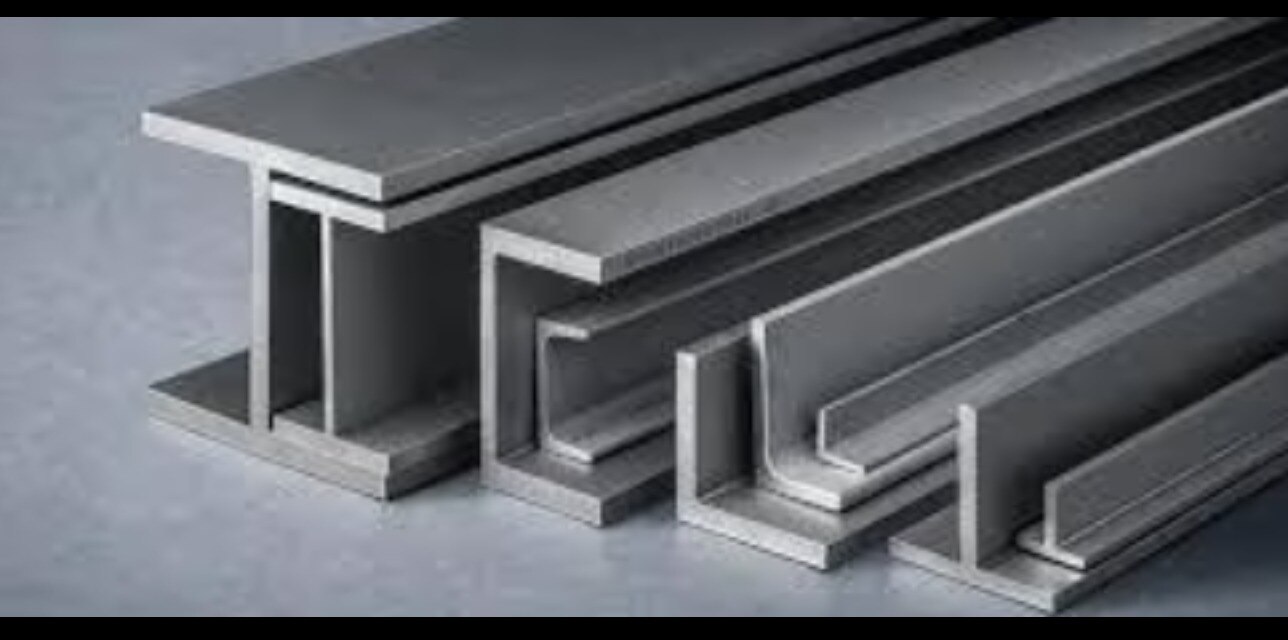
Fast interior changes depend on more than putting boards on metal studs: layout, services, movement joints, fire and acoustic details all have to be coordinated before the wall is closed. By the end, you will be able to sequence the work, specify the right partition system, and identify where demountable construction or extra backing will save time later.
Key takeaways
- Set out partitions before framing and inspect services before closing boards.
- Use reinforced framing and backing where walls will carry mounted loads.
- Match board and insulation choices to fire, sound, moisture and impact demands.
- Compare fixed, demountable and ceiling-access systems before finalising the layout.
How a drywall partition moves from layout to finished wall
A disciplined drywall installation sequence turns a marked floor plan into rooms without rework: set out the layout, build the frame, install services, close the walls, then finish the surfaces. This order makes drywall space planning fast because errors are found before boards hide the cavity.
1. Transfer the approved plan to the floor, ceiling and adjoining walls. Mark door openings, corners, control lines and service zones before fixing anything.
2. Fix the metal tracks and studs to the specified gauge, spacing and height. Frame openings separately, and use a deflection-head detail where the structure must move without loading the partition.
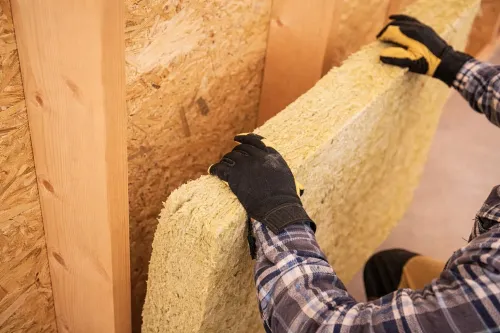
3. Install cables, pipes, insulation, outlet boxes and backing for cabinets or equipment. Photograph the cavity, check clearances, and protect every fire- or smoke-rated penetration with the listed firestop detail for that assembly.
4. Fit boards in the specified thickness and layer arrangement. Stagger joints between layers, keep end joints away from door and window corners, and avoid four-way joint intersections that concentrate movement.
5. Apply joint treatment and finishing to the specified GA-214 level. Level 4 suits a normal painted wall; Level 5 adds a skim coat for critical lighting or dark, glossy finishes but cannot fix deflection or poor framing.
6. Prime, paint and install trims only after the compound has dried and the surface has been inspected under the intended lighting. Record the board type, framing layout and concealed services for future alterations.
How to design rooms that can change without opening every wall
1. Draw today’s plan and two likely future layouts before fixing partition lines. Align relocatable office partitions with the ceiling grid and structural bays, and keep doors, corners and junctions away from major ducts and pipe runs.
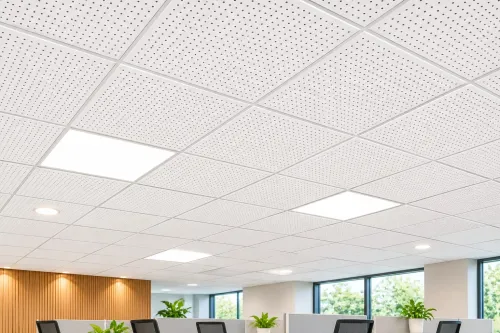
2. Reserve service access above ceilings for equipment that needs inspection or replacement. A lay-in acoustical ceiling gives faster access and easier reconfiguration than a continuous gypsum board ceiling, but its grid, panel module, acoustic treatment and fire detailing must suit the partition layout.
3. Keep cables, data outlets and small pipes in partition service cavities rather than burying every connection inside the board. Provide removable panels or demountable skirting at outlets, and leave spare conduits, cable-tray capacity and labelled routes for the next workstation move.
4. Select demountable partitions when room sizes or cabling will change repeatedly. Use a tested framed system with removable face panels, reusable tracks and compatible door, glazing and outlet components; conventional drywall usually costs less initially but turns relocation into demolition, patching and repainting.
5. Coordinate every partition penetration with the ceiling and service drawings before closing the wall. Cables, pipes, ducts, outlets and access panels in a fire- or smoke-rated assembly need the listed firestop and closure details for that system; ordinary sealant or loose mineral wool does not preserve the rating automatically.
6. Show movement joints and deflection-head details on the partition drawings. Do not rigidly fasten boards across a structural movement joint, or floor or roof movement can crack the wall and jam a demountable connection.
How to choose the wall system for fire, sound, moisture and impact
Choose the tested wall assembly that matches the room’s actual risk, then select its board, studs, insulation and fasteners as a package. A board’s fire rating belongs to the complete assembly, not the board alone.
| Board choice | Best fit | Framing and assembly decision |
|---|---|---|
| Standard gypsum board | Dry rooms with low impact and ordinary acoustic demands | Match the listed stud spacing, board thickness, layers and cavity insulation |
| Gyproc Duraline board | Corridors, schools, offices and other impact-prone areas | Use the impact-rated assembly; do not assume a stronger board preserves a fire rating |
| Cement board | Shower walls and other tile-backed wet areas | Add compatible waterproofing; cement board is not a complete waterproof system |
| Glass-mat board | Areas needing a moisture-tolerant substrate under the specified finish | Confirm the manufacturer’s tested wall and joint-treatment details |
For fire resistance, specify the tested design by its full construction: Type X or Type C board where listed, stud gauge and spacing, insulation, screw spacing, joint arrangement, layers and head-of-wall detail. “5/8-inch Type X” alone does not define a one-hour wall, and Type C is not a universal substitute.
For sound, compare the assembly’s tested acoustic rating, not board thickness alone. Coordinate stud depth, cavity insulation, resilient channels, staggered studs or separate frames, and airtight perimeter seals. A thicker board does little for thermal resistance compared with insulation.
Treat every penetration as part of the design. Cables, pipes, ducts, outlets and access panels need listed firestop or rated details; ordinary sealant or unverified mineral wool can leave a compliant-looking partition unprotected.
How to prevent cracks, movement and failed wall-mounted loads
Secure every opening, fixture and movement joint before the second face of board hides the framing. A partition that looks straight on handover can crack at a door corner or pull away from a cabinet when its supports were never planned.
1. Set out door, window and service openings with full-height studs, headers and sill framing where required by the wall system. Keep board end joints away from opening corners and avoid four-way joint intersections; these stress points concentrate movement and produce cracks.
2. Detail the top track as a deflection head where the floor or roof can move. Leave the specified movement gap, use the listed track and fasteners, and do not rigidly screw board through the movement zone. A rigid connection transfers structural movement into the partition.
3. Install drywall backing before boarding for wall-mounted cabinets, handrails, screens, grab bars, shelving and equipment. Use continuous plywood, steel plates, channels or additional studs sized for the load and fixing pattern; do not rely on gypsum board anchors for heavy or repeatedly used fixtures.
4. Coordinate outlets, access panels, pipes, ducts and cables before closure. In a rated wall, seal each opening with the listed firestop system for that penetration; ordinary sealant or loose mineral wool does not preserve the rating automatically. Record backing locations and photograph concealed services before the final board goes on.
Finish joints to the specified GA-214 level. Level 4 suits a normal painted wall; Level 5 reduces visible variation under critical lighting, but neither finish level repairs deflection, misaligned boards or movement-related cracking.
How to compare fixed drywall, demountable systems and ceiling access
Choose on the building’s change rate, not on today’s partition price. Fixed drywall versus demountable partitions becomes a lifecycle decision: conventional drywall usually costs less initially, while demountable framing can reduce reinstatement work when rooms, cabling or workstations will move.
| Option | Installation and future changes | Ceiling and service access | Cost check |
|---|---|---|---|
| Fixed drywall | Fast installation; opening the wall is destructive | Pair with lay-in ceiling access for above-ceiling services | Lowest initial material cost; budget demolition and patching |
| Demountable framed system | Higher procurement effort; panels and frames can be reused | Keep cable routes and service cavities reachable | Compare partition lifecycle cost, including relocation labour |
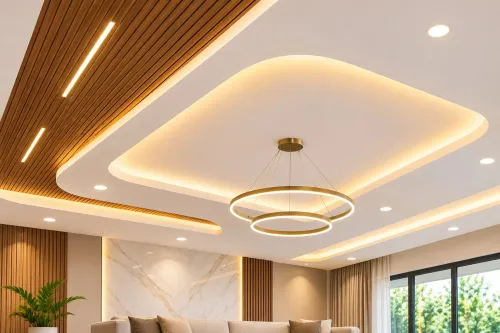
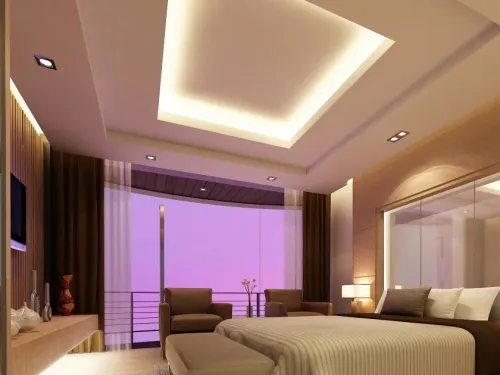
| Gypsum board ceiling | Continuous, robust finish; slower access after closure | Access panels are local and disruptive | Check every valve, junction box and damper location |
| Lay-in ceiling access | Quick panel removal and easier reconfiguration | Grid module controls light, diffuser and partition positions | Coordinate the suspension system, fire details and spare panels |
Before committing, ask the supplier for:
- A measured installation programme, including tracks, framing, board closure, joint treatment and ceiling coordination.
- A tested partition and firestop detail for cables, pipes, outlets, access panels and head-of-wall gaps.
- Replacement panel, frame and trim availability for the expected occupancy period.
- Installer references for the same ceiling grid and partition system.
Keshar Gypsum Pvt Ltd - 08048034025 can help a project team in Maharashtra compare compatible boards, partitions and ceiling components against drawings rather than choosing by product name alone.
Related products
 | Gypsum Board ₹1820 Characteristics: A high-density core with glass fiber and other additives for high impact resistance. View product → |
 | Drywall Partition ₹350 Keshar Gypsum Pvt. Ltd. in Pune also supplies Metal Sections, essential components for creating strong, durable frameworks for drywall systems and... View product → |
Frequently asked questions
What is the correct sequence for installing a drywall partition?
Mark the layout, build the frame, install services, inspect the cavity, close the walls, then finish the surfaces.
How can you design drywall rooms for future changes?
Coordinate service routes, use accessible ceiling zones and choose demountable partitions where layouts will change frequently.
How do you choose drywall for fire, sound, moisture and impact resistance?
Specify the complete tested wall assembly, including board layers, studs, insulation, joints, penetrations and finishes—not just the board type.
How do you prevent drywall cracks and failed wall-mounted loads?
Allow for movement at junctions, reinforce openings and fixing zones, use suitable joint treatment, and provide backing before boards are installed.