A sound-block board controls sound transfer only when it forms part of a complete, airtight partition system. By the end, you will know how to specify the layers, cavity, seals, doors and service details that determine whether a room remains private in actual use.
Key takeaways
- Use absorption to reduce echo; use blocking to limit sound passing between rooms.
- Build boards on separated frames with insulation inside the cavity.
- Seal door edges, outlets, ducts, joints and perimeter gaps with acoustic sealant.
- Test the partition for leaks before closing the wall or ceiling.
Sound absorption and sound blocking solve different room problems
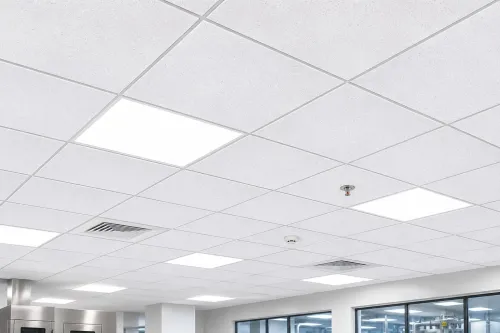
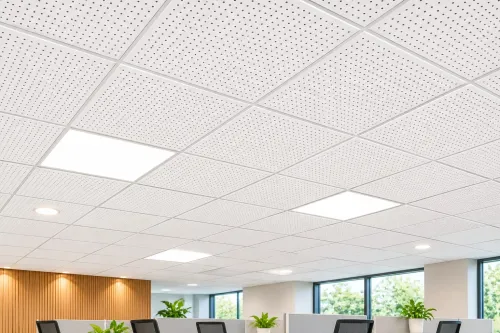
Sound absorption versus sound blocking addresses different room problems. Absorption reduces reverberation inside a room by limiting reflections from ceilings, walls and other surfaces. Blocking reduces airborne sound transmission through a wall, ceiling, door, floor or partition.
A ceiling tile or wall panel that makes speech clearer inside one room does not automatically stop speech from reaching the next room. An acoustic sound block board is one mass layer in a separating assembly, not a standalone sound rating.
Ask for the tested construction, not only a claim such as “reduces sound by X dB.” ASTM E90 laboratory transmission-loss results describe a specimen tested under controlled conditions; field ratings such as FSTC or ASTC include construction tolerances and flanking paths.
For an STC rating for partitions, remember that STC is weighted toward speech frequencies. It does not fully describe bass from music, pumps, traffic or mechanical equipment, and two assemblies with similar STC values can perform differently at low frequencies.
Before accepting a specification, check:
- The complete wall build-up: board layers, studs, cavity insulation, sealants and penetrations.
- Octave-band data for low-frequency or structure-borne noise.
- IIC where floor-impact noise is involved.
- Door leaves, frames, seals, glazing, transfer grilles and HVAC paths.
A wall’s rating cannot rescue a weak door, unsealed glazing frame, transfer grille or open HVAC route. Check ceilings, floors, façades, columns and service risers for flanking paths as well.
Build the board into a decoupled, insulated partition
A board fixed directly to both sides of one stud frame shares vibration through the framing, limiting privacy even when the board is heavy. Decouple the faces, then add insulation and airtight joints.
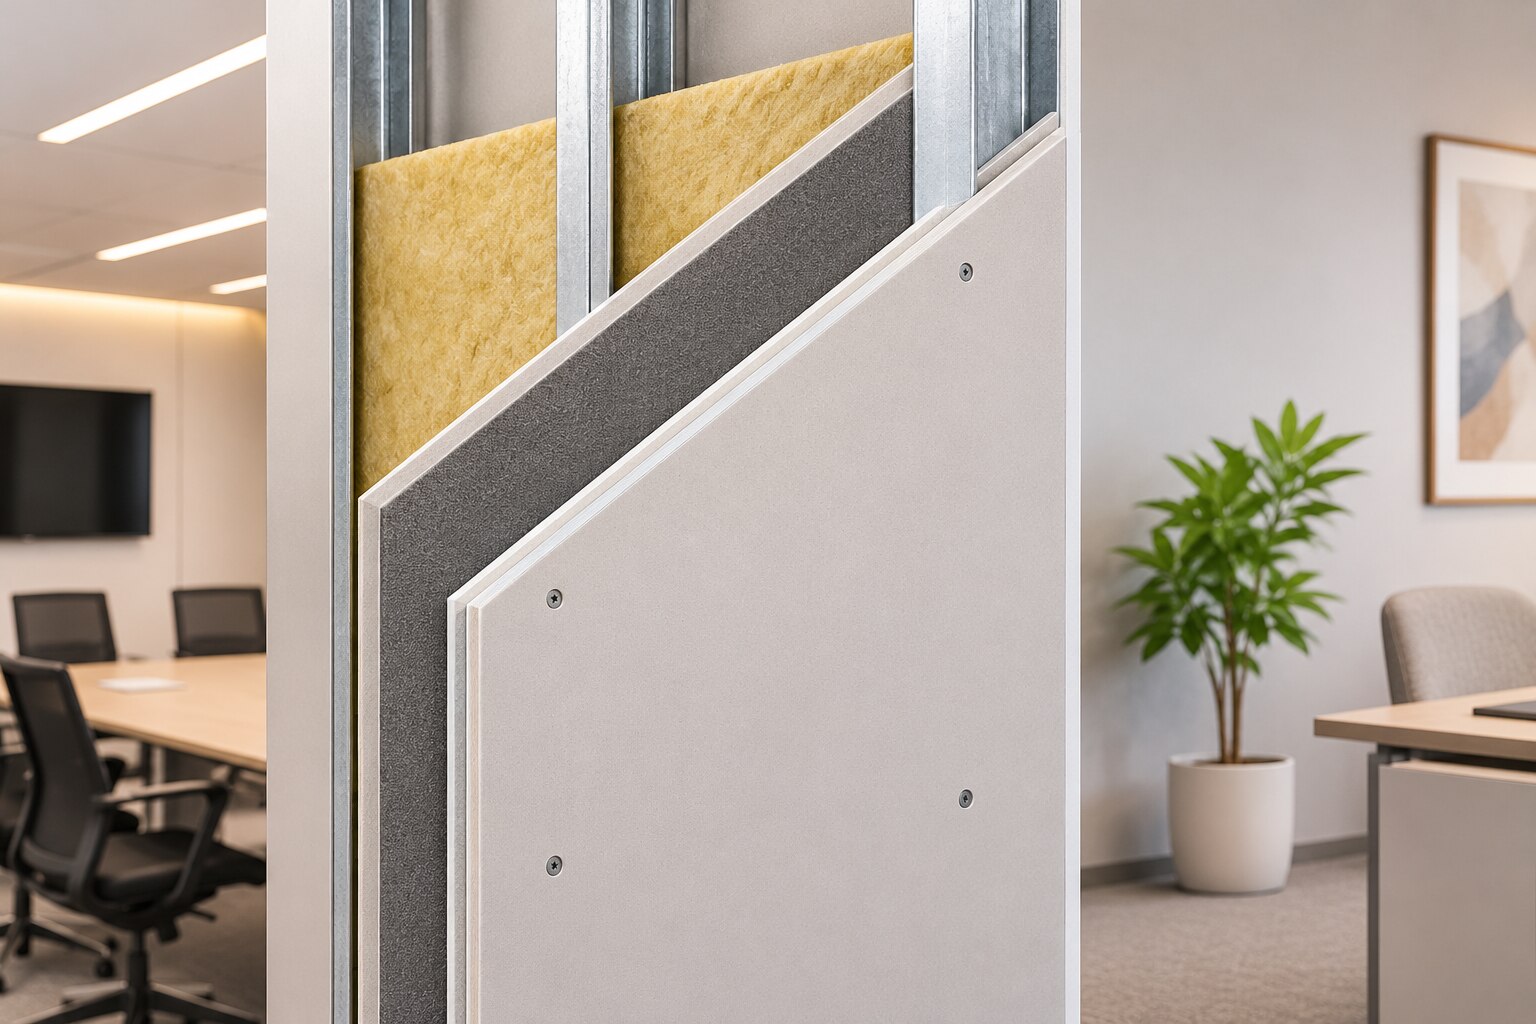
A sound-control partition build-up includes:
- One or more gypsum-board layers on each face, selected from a tested wall assembly
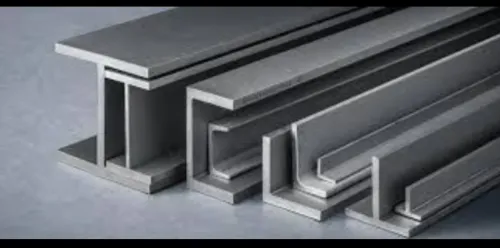
- Separate faces using a double-stud wall, staggered studs or a resilient channel
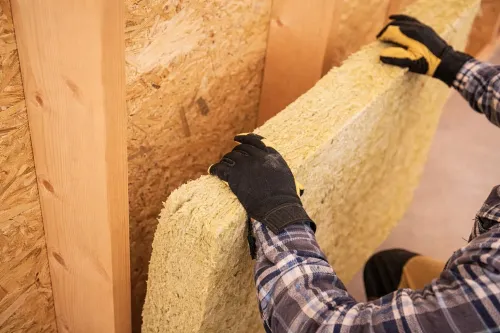
- Mineral wool or glass wool filling the cavity without gaps or crushing
- Sealed floor, ceiling, corner and board-to-frame joints
Stagger joints between board layers, and keep joints on opposing faces from forming one continuous line. A second layer adds mass, but weak framing, gaps and penetrations can erase much of its benefit.
Resilient channel installation demands precision. Attach the channel only to the supporting framing, use the specified orientation and spacing, and keep board screws out of the studs. One screw that passes through the board, channel and stud creates a rigid bridge and can short-circuit the isolation layer; blocking, brackets and fixtures need the same treatment.
Cavity insulation absorbs energy in the air space, but it does not replace board mass or face separation. Install board on both sides for a complete separating wall with fewer exposed framing paths. One-sided installation suits an existing-room upgrade, but the original wall, framing and remaining face still limit the result.
Treat the board as one component of the tested partition build-up, not as the complete sound-control system.
Seal every junction, service opening and route around the partition
Air leakage can defeat a heavy partition, so seal every junction before closing the wall. Apply compatible acoustic sealant at the floor, ceiling and adjoining-wall junctions, inside corners, control joints and board-to-frame interfaces. Flexible acoustic sealant is not a substitute for ordinary drywall finishing compound at moving or perimeter joints.
Use this sealing checklist:
- Treat service penetrations for pipes, cable trays, ducts, outlets and recessed fixtures with the assembly’s specified detail: sealed sleeves, lined ducts, backer boxes, putty pads or separate service cavities.
- Coordinate acoustic sealing with firestopping. Do not assume one product provides both airtightness and the required fire resistance.
- Keep electrical boxes from sitting back-to-back. Offset them into different stud bays, use a listed electrical box acoustic treatment, or provide the designed separation while preserving electrical clearances.
- Extend the partition to the structural deck when the ceiling plenum is open. A wall stopped at the suspended ceiling grid leaves a flanking path; install a plenum barrier or treat the deck junction when the design requires it.
- Inspect floors, façades, corridor walls, columns and service risers for flanking paths around the board.
- Remove rigid bridges, including brackets, blocking, misplaced resilient-channel screws and pipes connected to both faces.
Photograph seals and penetrations before the second face is installed. A single unsealed opening or rigid connection can bypass the board’s mass and decoupling.
Choose the enclosure around the room’s actual noise source
Compare the complete enclosure around the noise source, not isolated board names. A standard gypsum board comparison is useful only when every option includes its framing, insulation, junctions, openings and services.
| Option | Main advantage | Cost or risk |
|---|---|---|
| Standard gypsum board partition | Lower cost for ordinary separation | Less mass for higher airborne insulation |
| Masonry versus drywall partition | Masonry supplies mass; drywall reduces construction load | Masonry still needs sealed junctions and control of structural flanking |
| Double-stud partition | Stronger decoupling between faces | Uses more floor area, materials and coordination |
| Glazed enclosure | Laminated acoustic glass and sealed frames protect the weak transparent section | Ordinary single glazing can control the whole result |
| Acoustic doors and suspended ceilings | A compatible door assembly preserves speech privacy; a ceiling tile reduces reverberation | A hollow door leaks sound, and a suspended ceiling does not replace deck-to-deck separation |
Give a glazed room laminated acoustic glass with properly sealed frames, not just a heavier wall. Specify the door leaf, frame, perimeter seals and drop seal together; a high-rated wall cannot rescue a poorly sealed opening.
Use a deck-to-deck partition or continuous plenum barrier when the ceiling void connects rooms. Match the enclosure to the source: speech needs an airtight airborne partition, while bass, machinery and impact noise need structural isolation and frequency-specific data.
Give Keshar Gypsum Pvt Ltd - 08048034025 the room layout, wall height, door and glazing schedule, service routes, fire requirement and target rating so the proposed boards, insulation and ceiling components match a tested assembly. Request those system details before substituting any component.
Related product
 | Gypsum Board ₹1930 Characteristics: A specialised gypsum board which consists of an aerated gypsum core encased in and firmly bonded to strong paper liners. View product → |
Verify the installed partition before closing the work
Before the second face goes on, inspect the partition with both faces and every service route visible. Use a partition inspection checklist against the specified assembly, not the board label.
1. Confirm the board type, thickness, layer count, fastener pattern and stud arrangement. Check that joints are staggered and cut edges have framing support.
2. Verify that cavity insulation fills the space without gaps or compression. Ensure resilient channels remain free of bridging fasteners; one misplaced screw can reconnect the two faces.
3. Photograph perimeter seals and every penetration, including boxes, pipes, ducts and cable routes. Check the floor, ceiling, corners and door frames for gaps, then seal them before finishing. This is essential to airtight wall construction.
4. Confirm that the partition reaches the required structural deck. If it stops below the deck, verify that the plenum barrier is continuous and sealed.
5. Review doors, glazing, HVAC openings and transfer grilles as part of the same acoustic package. A high-rated wall cannot compensate for a leaky door or open ventilation path.
6. Apply fire-rated partition coordination before changing board thickness, insulation, fasteners, joint treatment or service details. Acoustic performance and fire performance are separate properties; approve substitutions against the tested fire-resistance design.
7. Record the assembly, sealant, insulation and penetration details for maintenance. Field acoustic testing can expose a weak junction that laboratory results cannot show. The finished enclosure must remain massive, decoupled and airtight.
Frequently asked questions
What is the difference between sound absorption and sound blocking?
Absorption reduces reflections and reverberation inside a room, while blocking limits airborne sound transmission through partitions, ceilings, floors, doors and walls.
How should you build a sound-blocking partition?
Use a decoupled partition with separated framing, acoustic insulation in the cavity and properly fixed sound-blocking boards.
Where can sound bypass an acoustic partition?
Sound can travel through unsealed perimeter joints, service openings, electrical boxes, ducts, doors and gaps around the partition.
How do you choose the enclosure for a room?
Match the partition, ceiling, door and floor treatment to the noise source, such as voices, music, machinery or impact noise.
How can you verify an installed partition?
Inspect every junction and opening, listen for leaks during a sound test and complete checks before closing the construction.