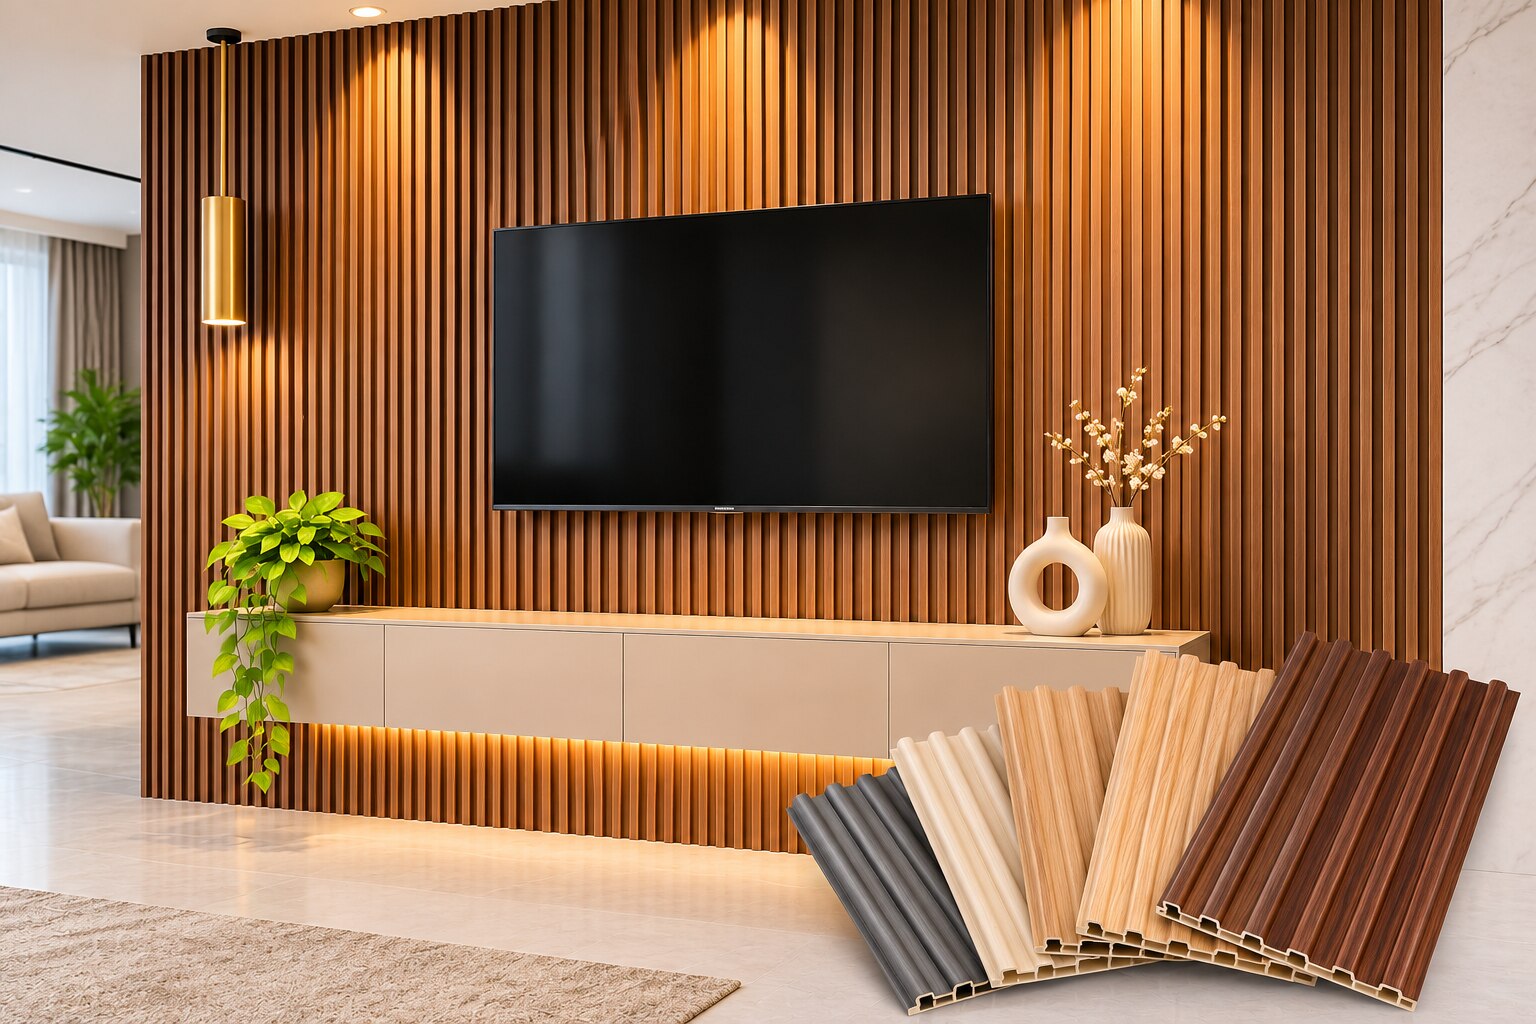
A fluted wall can make a plain room feel taller and more layered, but the wrong groove scale, backing, or installation detail can make it look cramped, collect dust, or fail at a joint. You will be able to choose the right location, compare panel types, plan the installation, check performance claims, and inspect the finished material before it is fixed in place.
Key takeaways
- Use vertical grooves to reinforce height in rooms with low ceilings.
- Compare fluted panels with paint, wallpaper, slats and textured plaster before choosing.
- Confirm substrate flatness, panel dimensions, cuts and joint positions before fixing.
- Treat acoustic, fire and moisture performance as properties of the complete assembly.
Choose the Right Wall, Scale and Groove Direction
Use fluted wall panels where texture supports the room’s proportions, not where it competes with them. Narrow vertical grooves exaggerate height on low ceilings, while a full-height installation can make a narrow room feel more enclosed.
Dense grooves may look busy across a large wall, so use wider spacing or limit the treatment to feature wall panels.
| Application | Recommended use |
|---|---|
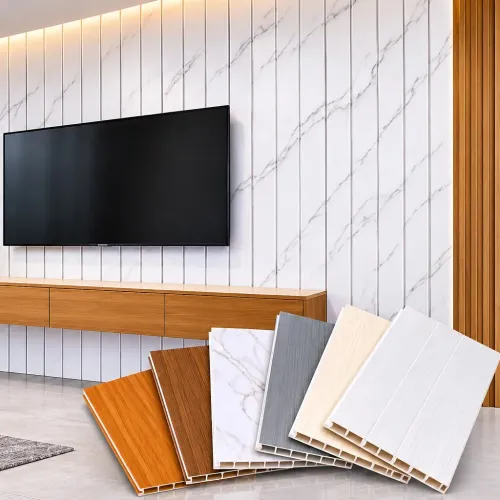
| TV wall design | Cover the viewing wall behind the screen; keep adjacent walls plain to control visual noise and glare. |
| Bedroom headboard wall paneling | Use a full-width panel behind the bed, with vertical grooves for height and a calm, mid-tone colour. |
| Reception desk | Apply fluting to the desk front or backdrop to identify the brand zone without covering every surface. |
| Corridors | Use panels on one long wall or lower section; full-height coverage can make a narrow passage feel tighter. |
| Retail displays | Frame merchandise or a cash desk with a controlled panel area, leaving clear backgrounds for products. |
| Ceilings | Use shallow, lightweight panels only after checking fixing, weight and service-access requirements. |
| Partitions | Use fluting on one face or both faces when the partition system and fire, acoustic and impact requirements allow it. |
Dark colours absorb light visually, so reserve them for bright rooms or smaller feature areas. Sample the panel beside flooring, skirting, furniture and the adjacent plain wall before choosing one wall or a complete surface. Inspect it in daylight and installed lighting.
Compare Fluted Panels with Other Surface Treatments
Choose fluted panels when you need repeated relief, shadow and some acoustic potential without the open voids of louvers. They are not ideal for every wall: grooves collect dust, flute tips take impact and repairs show more than repainting.
| Option | Texture and joints | Moisture, movement, impact and maintenance | Acoustic and installation implications |
|---|---|---|---|
| Fluted panels | Regular relief; joints and flute alignment remain visible. | Wood-based types need acclimatisation and movement gaps; vacuum grooves and replace matching sections. | Hard faces need a backing system for meaningful absorption; accurate substrate, cutting and fixing are essential. |
| Paint | Flat surface with no joint pattern. | Easiest to refresh, wash and patch; offers limited impact protection. | No relief or acoustic benefit; simplest installation. |
| Wallpaper | Pattern with minimal relief; seams can show. | Moisture and impact resistance depend on the product; damaged strips need matching rolls. | Little acoustic effect; faster installation than panels. |
| Wood veneer | Most authentic wood appearance; sheet joints require control. | Needs moisture and movement control; scratches and repairs can be conspicuous. | Limited absorption; more finishing than paint. |
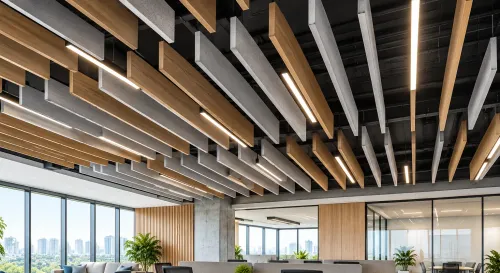
| MDF slats | Stronger wood character and deeper shadow lines. | Needs moisture and movement control; individual slats can chip. | Felt-backed systems improve absorption; more labour than fluted panels. For fluted panels vs MDF slats, compare the desired wood realism and open backing. |
| WPC louvers | Deeper open gaps and stronger architectural rhythm. | Handles damp conditions better than wood-based products; dust enters the voids. | Can support absorption with backing; alignment and cleaning take effort. |
| PVC marble sheets | Continuous stone look with fewer relief shadows. | Washable and moisture-tolerant when sealed; joints remain at sheet edges. | Little acoustic benefit; relatively quick installation. |
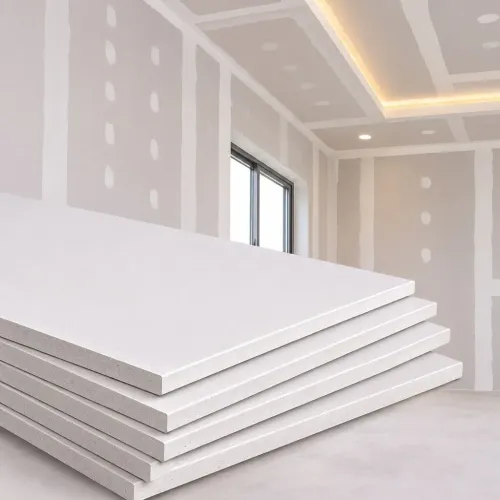
| Gypsum feature wall | Custom curves, niches and profiles. | Vulnerable to water and impact unless protected; repairs need finishing. | Can form complex shapes, but requires more jointing, sanding and painting. |
Choose paint for frequent colour changes, wallpaper for pattern, or a flat washable finish where hygiene and rapid cleaning matter. Choose a repairable plain surface in corridors, healthcare areas and high-contact spaces.
Plan the Substrate, Cutting and Joint Details Before Fixing
Prepare the wall before fluted panel installation: a small error in the backing repeats across every groove, causing drifting joints and uneven shadow lines.
1. Verify the panel dimensions, thickness, groove pitch, groove depth, weight, sheet coverage and available format. Mark the layout from a control line, not from a corner that may be out of square. Dry-lay sheets and check groove alignment before fixing.
2. Complete substrate preparation by making the wall flat, dry, sound and free of dust, loose paint and grease. Correct dampness and uneven areas first; otherwise adhesive failure and visible waviness will remain behind the panels.
Use a backing frame when the wall cannot be levelled, services need a cavity, or the panel requires mechanical support.
3. Use only the manufacturer-approved primer, adhesive, mechanical fasteners, fixing intervals and curing time. Do not guess from another panel system. Confirm the required minimum edge distances, joint treatment and movement gaps, especially for wood-based products that expand and contract with indoor humidity.
4. Perform panel cutting with the permitted saw and blade, supporting flute tips so they do not chip or crack. Mark electrical outlet cut-outs and switch cut-outs from measured templates, keep the specified edge distance, and seal or reinforce exposed cuts where instructed.
Plan corner returns, skirting junctions and ceiling junctions before cutting; allow neat movement gaps rather than forcing tight butt joints.
Treat Acoustic, Fire and Moisture Claims as Assembly Questions
Do not approve fluted panels acoustic performance from the flute shape or an isolated NRC rating. A hard-faced MDF, timber or gypsum panel fixed directly to a rigid wall adds relief but little sound absorption.
- Request the tested assembly: face material, porous backing, cavity depth, insulation, open area, edge treatment, substrate and mounting method. The reported result belongs to that build-up, not to a decorative face used with different felt, adhesive or spacing.
- Check what the number measures. NRC averages absorption results at 250, 500, 1,000 and 2,000 Hz. STC under ASTM E90 addresses sound isolation between rooms, so it applies to a tested STC partition rather than a decorative wall surface; CAC applies to some ceiling systems.
- Ask for the complete fire test and listing. ASTM E84 fire rating describes surface burning, while ASTM E119 or UL 263 addresses fire resistance. A fluted finish over a fire-rated gypsum wall does not automatically share that wall’s rating; fasteners, furring, cavities and penetrations must remain compatible with the listed assembly.
Before specifying the product, obtain its moisture, fire, UV and cleaning limits for the exact composite. Check them against bathrooms, kitchen backsplashes, ceilings, exterior areas, heat sources, healthcare rooms and impact-prone commercial interiors. Groove depth, edge sealing and permitted cleaning chemicals matter where hygiene is critical.
Coordinate Lighting, Maintenance and the Final Material Inspection
Plan fluted wall lighting before fixing panels. Grazing light exaggerates every flute, joint, shadow-line variation and substrate error; diffuse light or carefully aimed fittings create a calmer surface. Coordinate downlights, wall washers, skirting, furniture edges, flooring transitions and acoustic treatments so later changes do not reveal uneven lines.
Use this fluted panel maintenance routine after handover:
- Remove dust from grooves with a soft brush or vacuum attachment. Do not force a hard nozzle into flute tips.
- Wipe marks with a lightly damp cloth and the approved cleaner. Do not use an abrasive pad, solvent or standing water unless the manufacturer permits it.
- Report stains promptly, and record scratches, damaged flute tips or loose sections. Replace damaged sections using the approved method; repaint only if the finish is designed for repainting, because paint can fill grooves and create shade differences.
Before acceptance, complete an interior panel inspection checklist in daylight and under installed lighting:
- Confirm colour consistency, shade variation, sheet count, edge condition and visible surface defects.
- Record panel batch verification, including batch labels, so replacement sections match.
- Check groove alignment, joint spacing, warping, corner returns and damaged edges across the full wall.
For Maharashtra projects, Keshar Gypsum Pvt Ltd - 08048034025 can help confirm available formats and obtain the product label, installation instructions, tested ratings and batch details. Keep those documents with procurement records, not as optional paperwork.
Related products
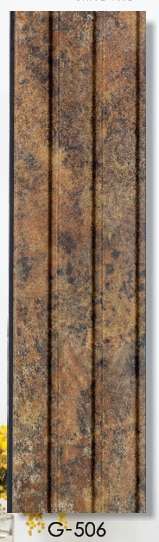 | Pvc / Wpvc Fluted Panels ₹1030 17303 G-506 | Antique Copper Stone Fluted Panel G-506 features a rich antique copper and earthy brown stone finish with dramatic natural variations... View product → |
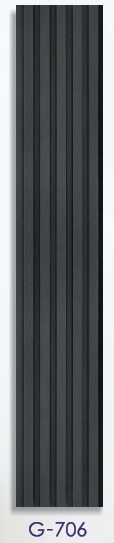 | Pvc / Wpvc Fluted Panels ₹460 12150 G-706 | Charcoal Black Fluted Panel G-706 features a deep charcoal black finish with a sleek, uniform fluted texture and evenly spaced vertical... View product → |
Frequently asked questions
How should you choose the groove direction for a fluted panel wall?
Use narrow vertical grooves to reinforce height in low-ceiling rooms. Avoid full-height coverage when it makes a narrow room feel enclosed.
What should you compare fluted panels with before selecting them?
Compare them with paint, wallpaper, textured plaster and linear slats for visual depth, installation effort, cleaning, joints and performance needs.
What must you plan before fixing fluted wall panels?
Check substrate flatness, confirm panel dimensions, plan cuts around openings, and position joints where they remain visually controlled.
Do fluted panels automatically provide acoustic, fire or moisture performance?
No. Assess the complete wall or ceiling assembly, including the panel, substrate, adhesive or framing, joints and room exposure.
Related products
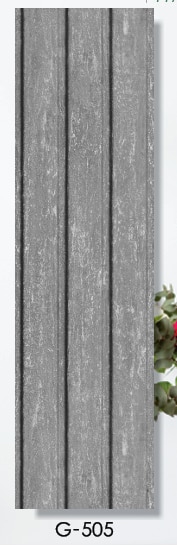 | Pvc / Wpvc Fluted Panels ₹1030 17303 G-505 | Silver Grey Textured Fluted Panel G-505 features a cool silver-grey textured finish with subtle weathered stone-like detailing and bold... View product → |
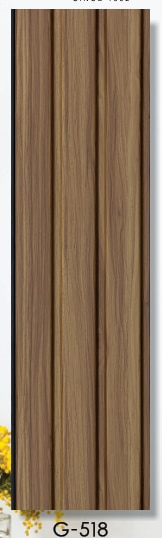 | Pvc / Wpvc Fluted Panels ₹1030 17303 G-518 | Rich Walnut Wood Fluted Panel G-518 features a rich medium-to-dark walnut wood finish with natural vertical grain patterns and subtle... View product → |
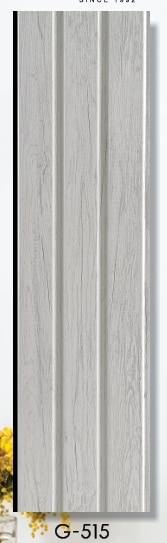 | Pvc / Wpvc Fluted Panels ₹1030 17303 G-515 | White Oak Fluted Panel G-515 features a light whitewashed wood finish with subtle natural grain patterns and elegant vertical fluted... View product → |
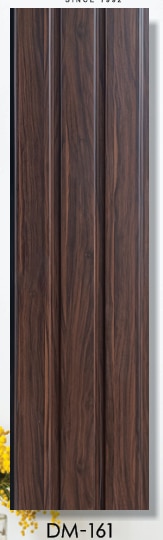 | Pvc / Wpvc Fluted Panels ₹1030 17303 DM-161 | Dark Walnut Wood Fluted Panel DM-161 features a deep dark walnut finish with rich natural wood grain patterns and subtle tonal... View product → |